All Posts

How to add team members with custom permission levels

(Last Updated 2/15/24)

When hosting your own events, you may need to assign different staff roles to your team members.  This article will teach you how to create add team members to your PromoTix account with custom permission levels.

NOTE: only account owners can create new events from scratch in their account. Admins can create new events in other user accounts through use of the "Clone" feature only.


1. Click on "My team"

1000001893

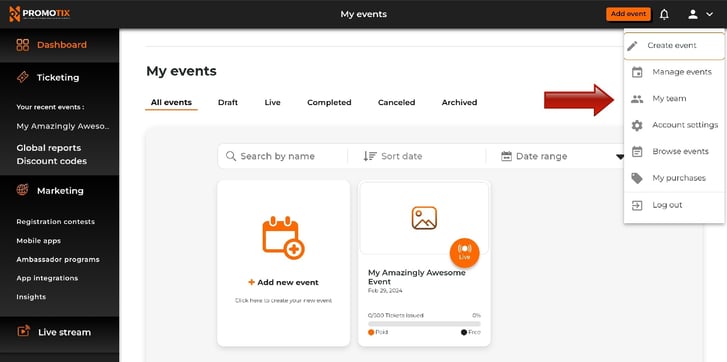
  1. Login to your PromoTix account using a web browser
  2. Click on the profile dropdown menu in the top-right-hand-corner of the screen
  3. Click on the My team option


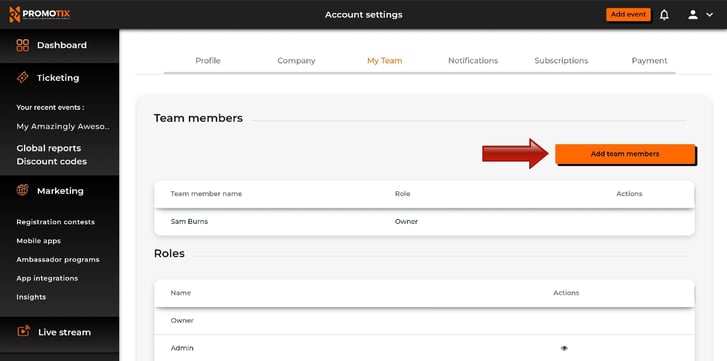
2. Click on "Add team members"

1000001895

3. Complete the "Invite team member" form

1000001890

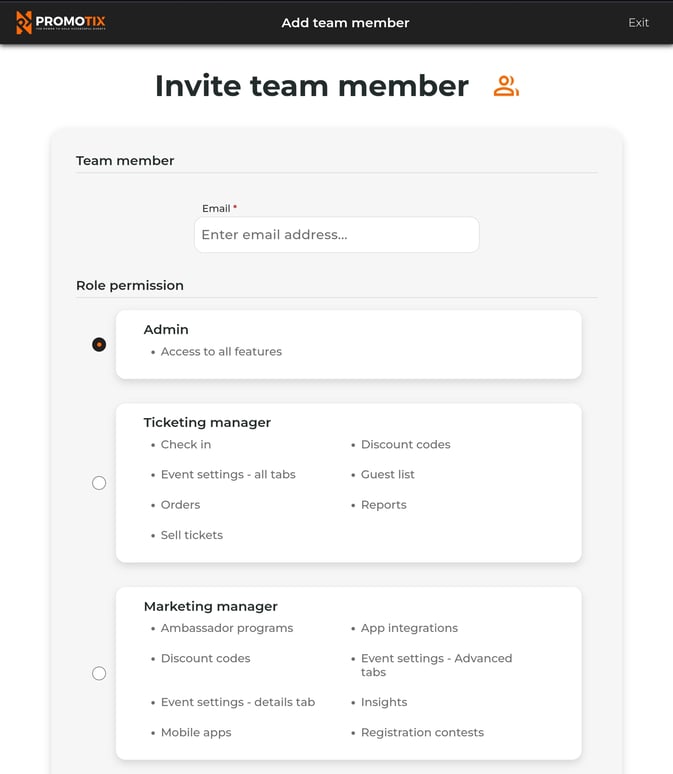
  1. Enter in the team member's email address
  2. Select a pre-configured role permission
  3. Select which event(s) you would like to give the team member access to
  4. Once you're done, click on the Send invite button.

Still Have Questions?

Contact Us

Sam Burns
Sam Burns
Sam is the Client Success and Ambassador Program Specialist for PromoTix, Inc.

Related Posts

How to use Google Tag Manager with the embedded checkout widget

(Last Updated 4/17/25) When using the PromoTix embedded checkout widget, the ticket buying process is embedded on your own website inside of an iFrame. This guide explains how you can capture dynamic purchase events triggered inside the PromoTix embedded checkout widget and send them to Google Tag Manager installed on your own website. By following these instructions, you can pass real purchase data (such as order amount, transaction ID, currency, etc.) to third-party platforms such as Meta, Google Ads, The Trade Desk, and more.

  • 9 min read
  • Apr 17, 2025 4:06:19 PM

How to create a shared inventory

(Last Updated 7/17/24)

  • 4 min read
  • Jul 20, 2024 3:31:23 AM

How to edit customer details

(Last Updated 5/1/24)

  • 3 min read
  • May 2, 2024 9:27:20 AM