All Posts

How to check in tickets using the ticket scanning feature

(Last Updated 4/9/24)

If you have a long line waiting outside of your event, scanning tickets is the easiest way to get everyone in the door fast. Read below to learn more.

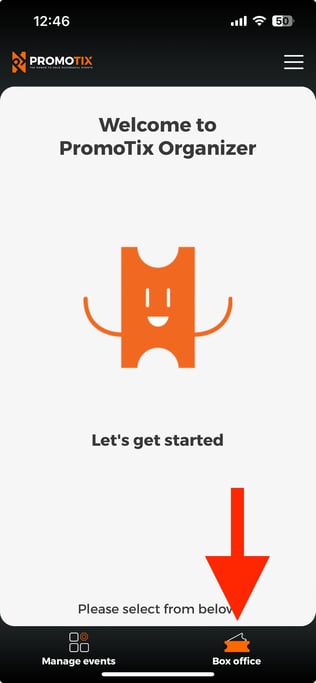
1. Login to the PromoTix Organizer mobile app, then select the "Box office" option

PromoTix Organizer Select Box Office

The PromoTix Organizer mobile app is available for both iOS and Android devices:

Login to your PromoTix account, and then tap on the Box office option at the bottom of the screen.

2. Select a Live event

PromoTix Organizer Select Event-1

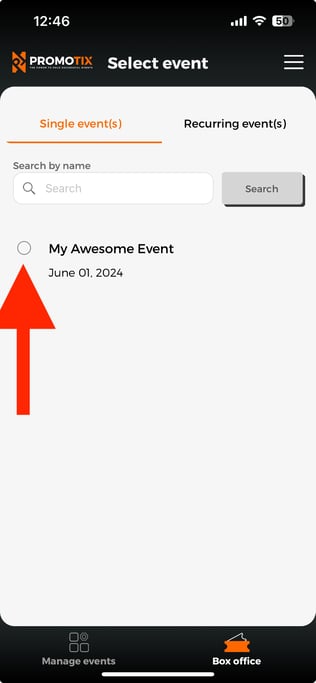
Tap on one your Live events to select it.

NOTE: To select one of your Live recurring events, tap on the "Recurring event(s)" tab at the top of the screen.

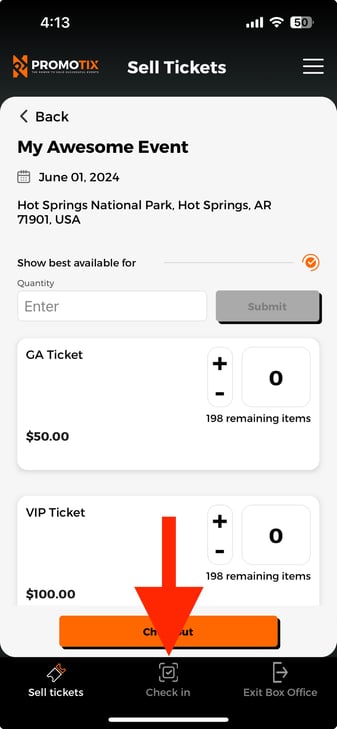
4. Tap on the "Check in" tab

PromoTix Organizer Select Check In Tab 4924 copy

5. Tap on the "Scan" button

PromoTix Organizer Check In Scan Button 4924

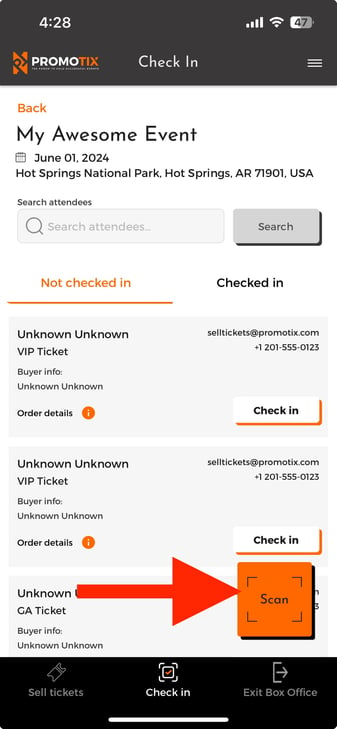
Tap on the "Scan" button at the bottom of the screen in order to engage the scanning feature.

NOTE: You may need to enable permissions on your device for PromoTix to access your camera and photos.

6. Scan QR codes

PromoTix Organizer Check in Scan 4924

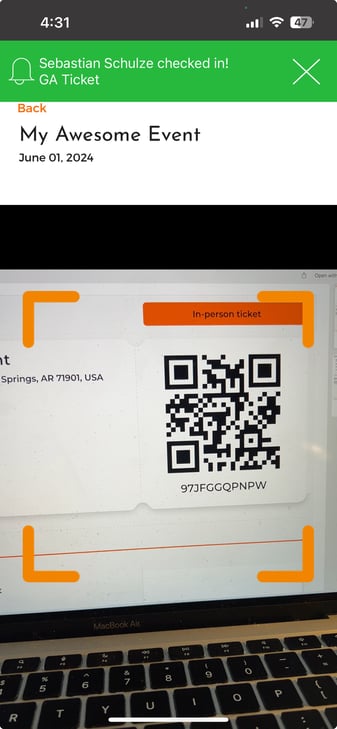
To scan an item, position your device's camera over the QR code.

  • If a QR code is valid, you will see a green success message indicating that the item has been checked in.
  • If the QR code is invalid, you will see a red error message indicating that the item has not been checked in.
  • If the QR code has already been checked in, you will see a red error message along with the date and time that the item was previously checked in.

NOTE: the scanning feature works for both printed QR codes and digital QR codes.

Still Have Questions?

Contact Us


Jeremy Geist
Jeremy Geist
I'm an intern at PromoTix working on UX design and instructional writing. I like board games, baking, pinball, and trying to convince people to watch The Genius.

PromoTix is an established provider of event ticketing platforms, event marketing software, event promotion tools, and event management technology used by event organizers around the world to sell more tickets and grow their audiences.

Related Posts

How to connect your Authorize.net account to PromoTix

(Last Updated 3/4/26) Currently PromoTix supports Stripe, PayPal, and Authorize.net for credit card processing. In order to sell paid tickets on PromoTix, you will need to connect at least one payment processor to your events. All revenue from ticket sales will be deposited directly into your chosen payment processing account. For the latest information on Authorize.net's platform, payout schedules, and associated fees, please visit their website here. NOTE: a PromoTix enterprise package is required in order to use Authorize.net with PromoTix. NOTE: the following currencies are supported by both Authorize.net and PromoTix: USD, CAD, AUD, EUR, GBP, NZD, DKK, NOK, ZAR, and SEK. NOTE: currently no credit card terminal is supported by both Authorize.net and PromoTix (only "card not present" transactions are currently supported).

How to connect your PayPal account to PromoTix

(Last Updated 8/11/25) PromoTix supports PayPal as an option for payment processing. In order to sell paid tickets on PromoTix, you will need to connect a supported payment processor (like PayPal) to your events. All revenue from ticket sales will be deposited directly into your PayPal account. For the latest information on PayPal's platform, payout schedules, and associated fees, please visit their website here.

  • 6 min read
  • Aug 14, 2025 4:17:30 PM

How to create custom checkout questions

(Last Updated 7/9/25) There may be times when you need to gather additional information from your ticket buyers that will allow them to enter their own personalized response. Follow this guide to start using the Custom checkout questions feature.

  • 3 min read
  • Jul 9, 2025 2:46:04 PM