

(Last Updated 10/15/24)
If your PromoTix account is using PromoTix Processing Pro for payment processing, you as the event organizer are responsible for PCI-compliance. If you are not in compliance a $34.95 monthly fee will be assessed to your account. To avoid this fee, you should follow the instructions below to pass PCI compliance. Please read below so you can make sure that your customers' payment information is being handled properly.
1. Login to the PromoTix Processing Pro Portal
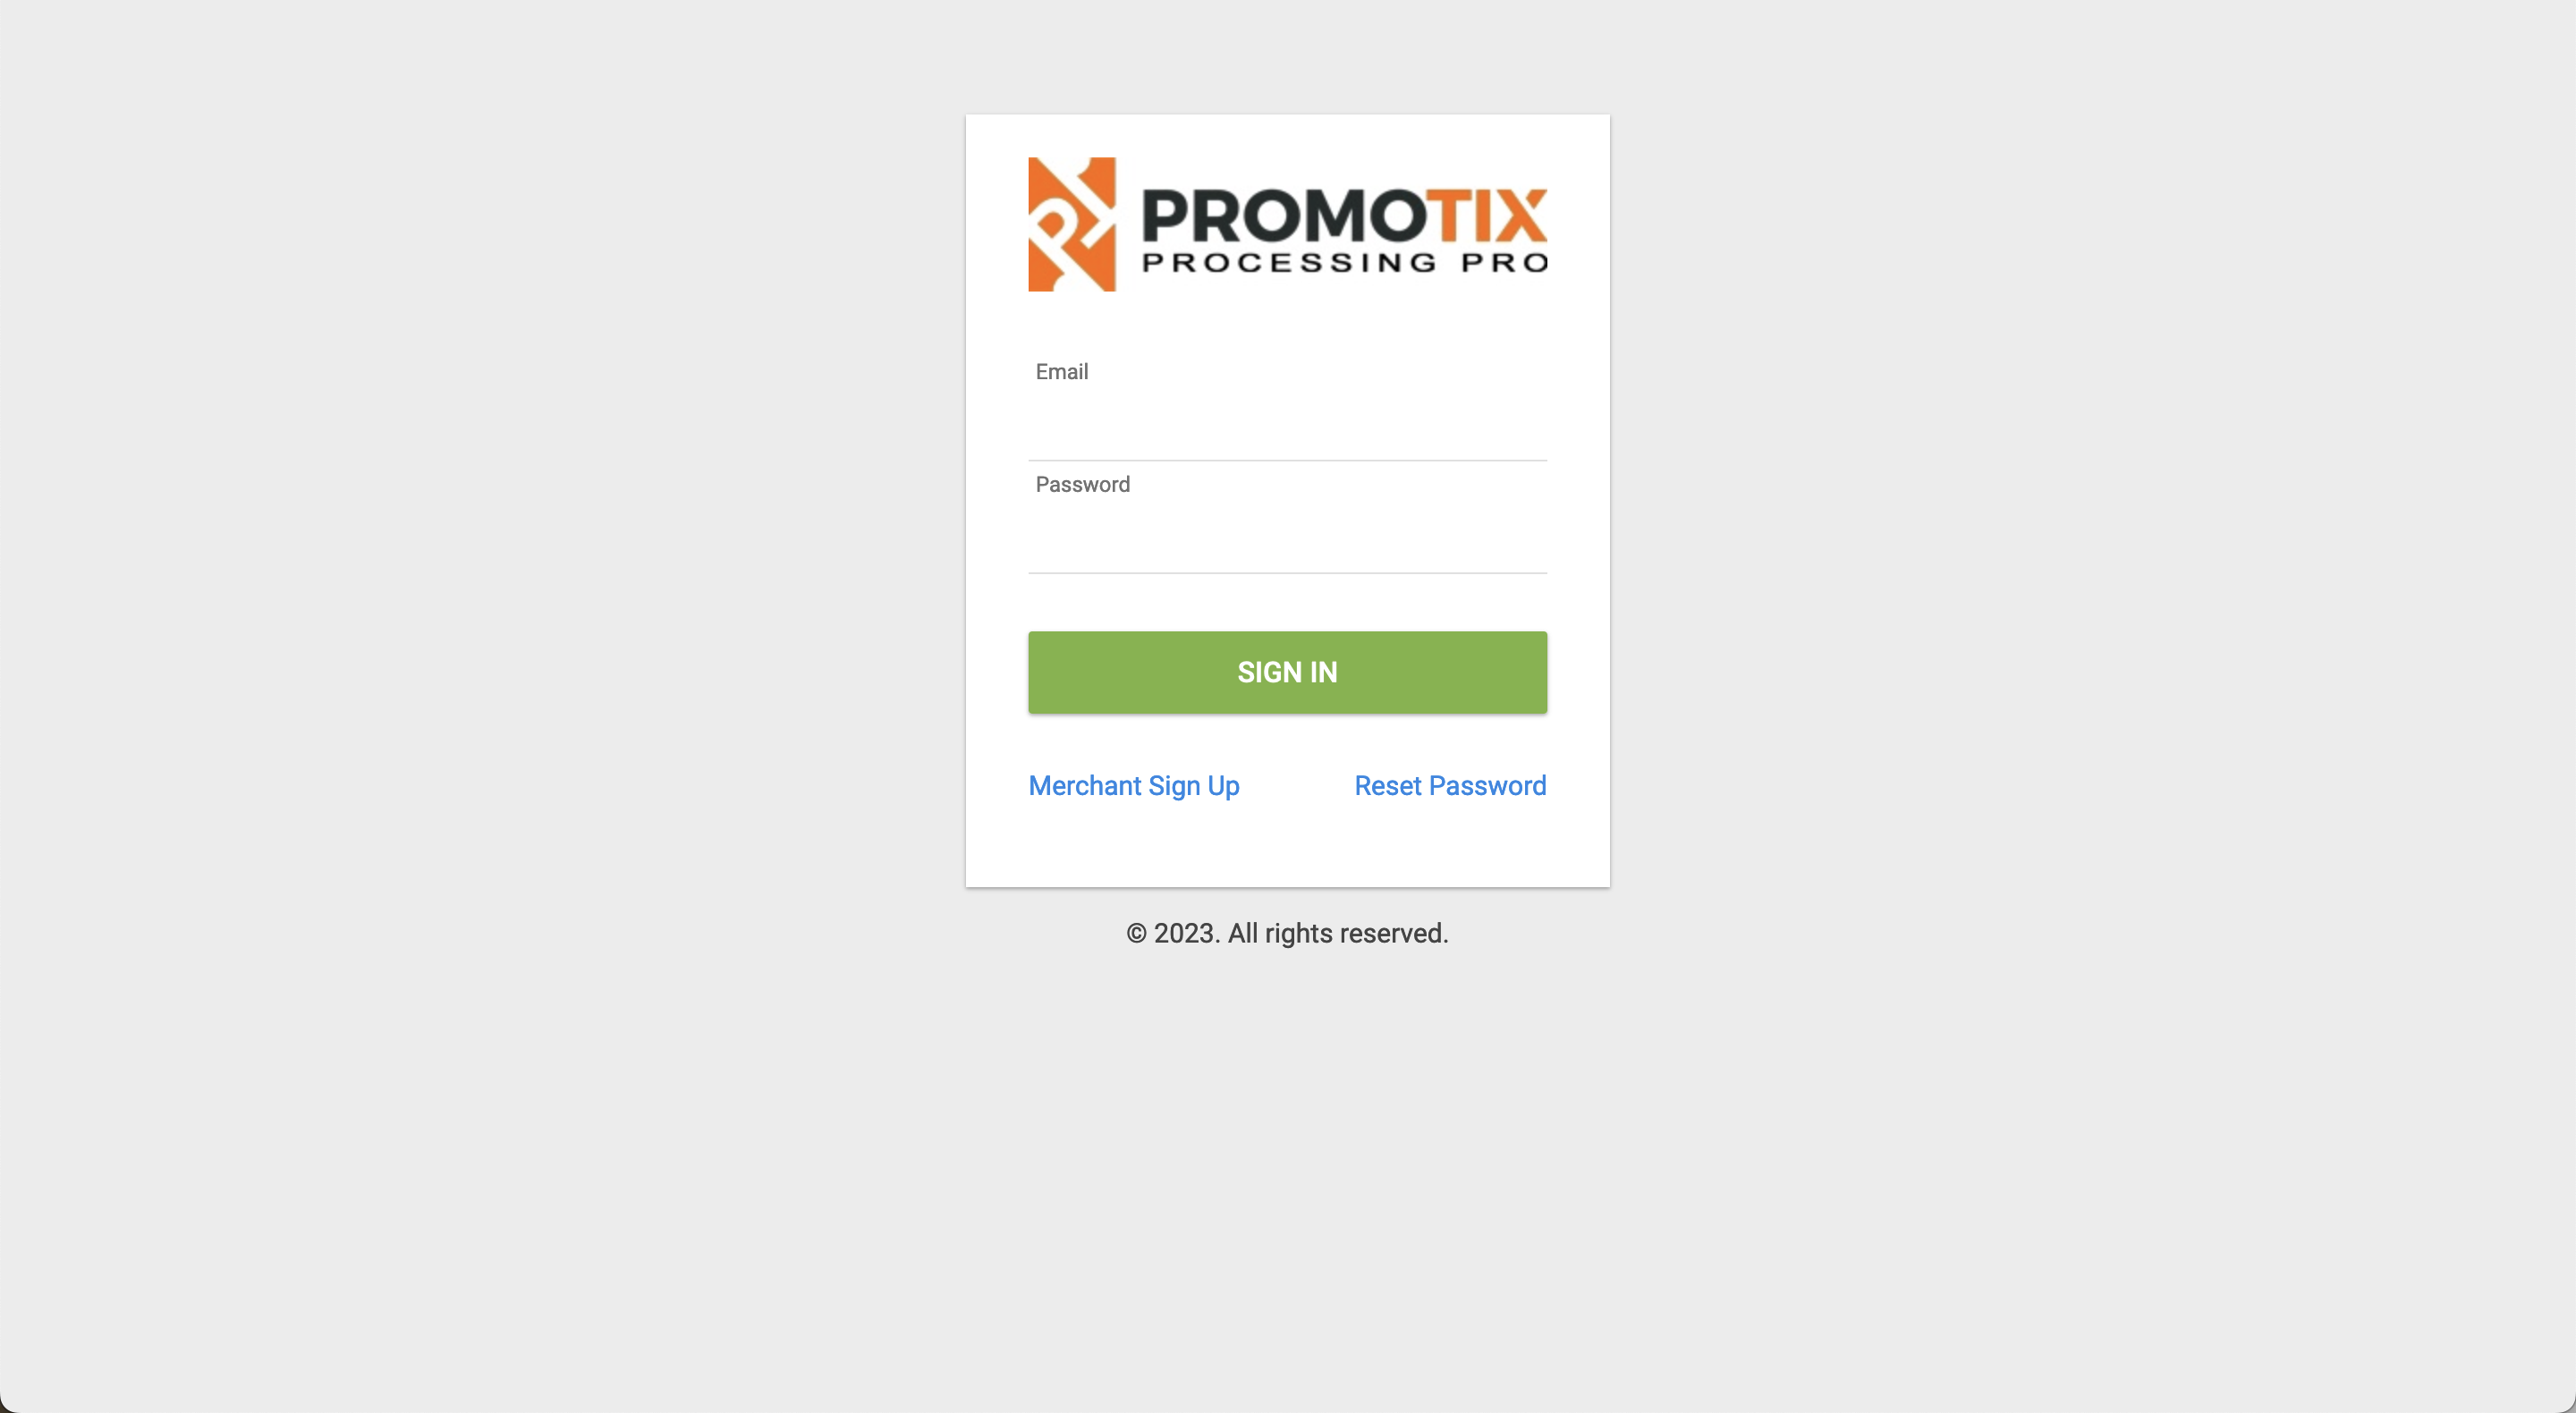
- Visit this URL: https://www.promotixprocessing.com/
- Login using your PromoTix Processing Pro credentials
2. Make a note of your "MID" and Merchant Address Zip Code
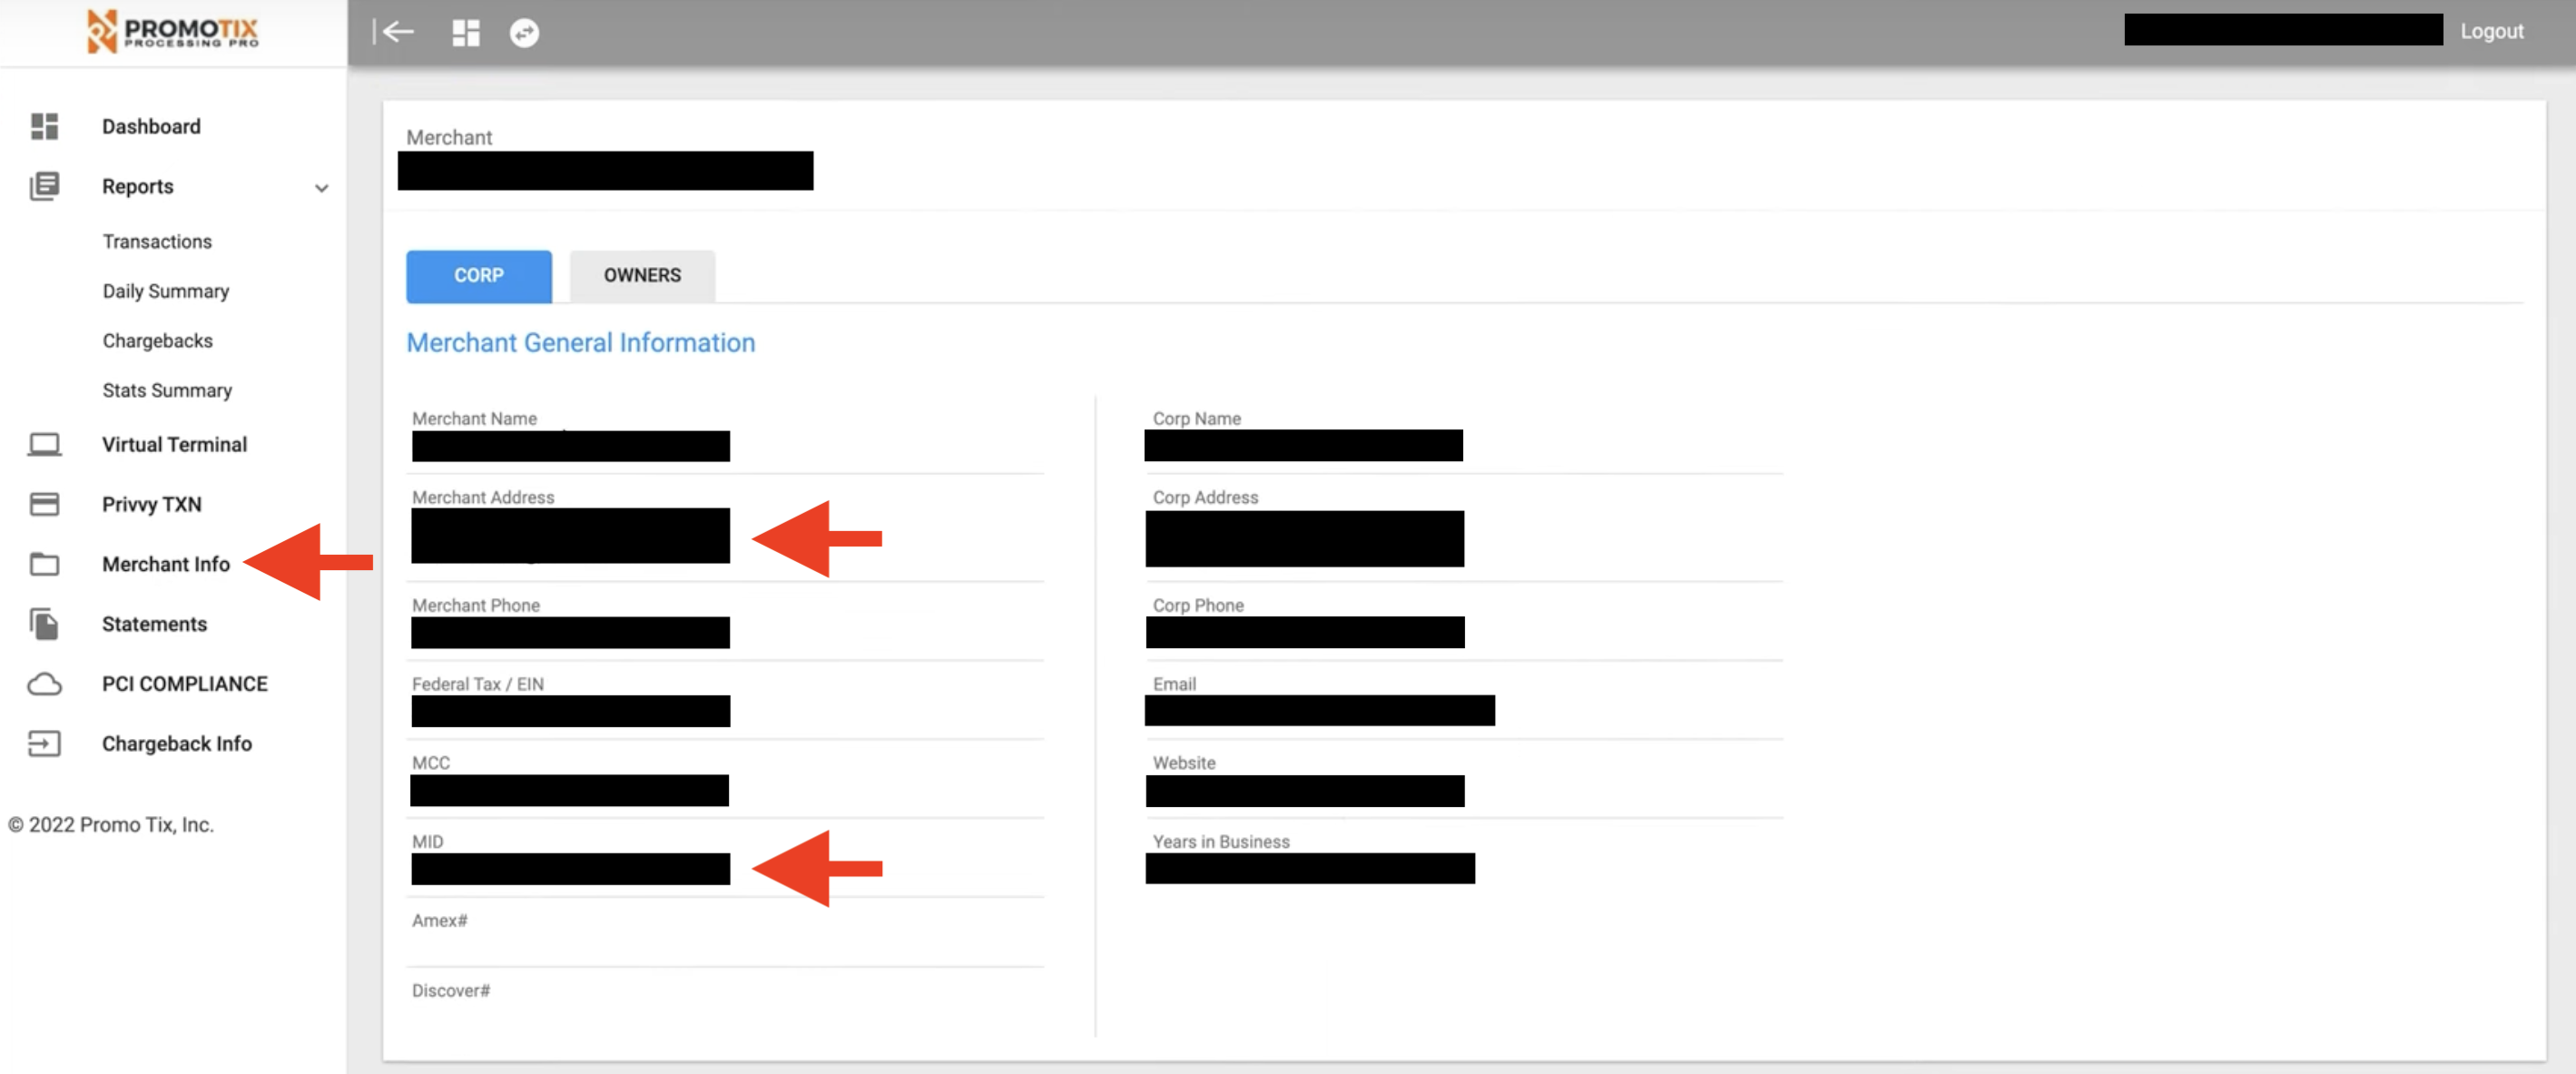
Once logged in:
- Click on the Merchant Info tab in the drawer on the left side of the screen
- Make a note of your MID and the zip code associated with your Merchant Address. You will need both of these pieces of information later.
3. Visit the PCI compliance portal
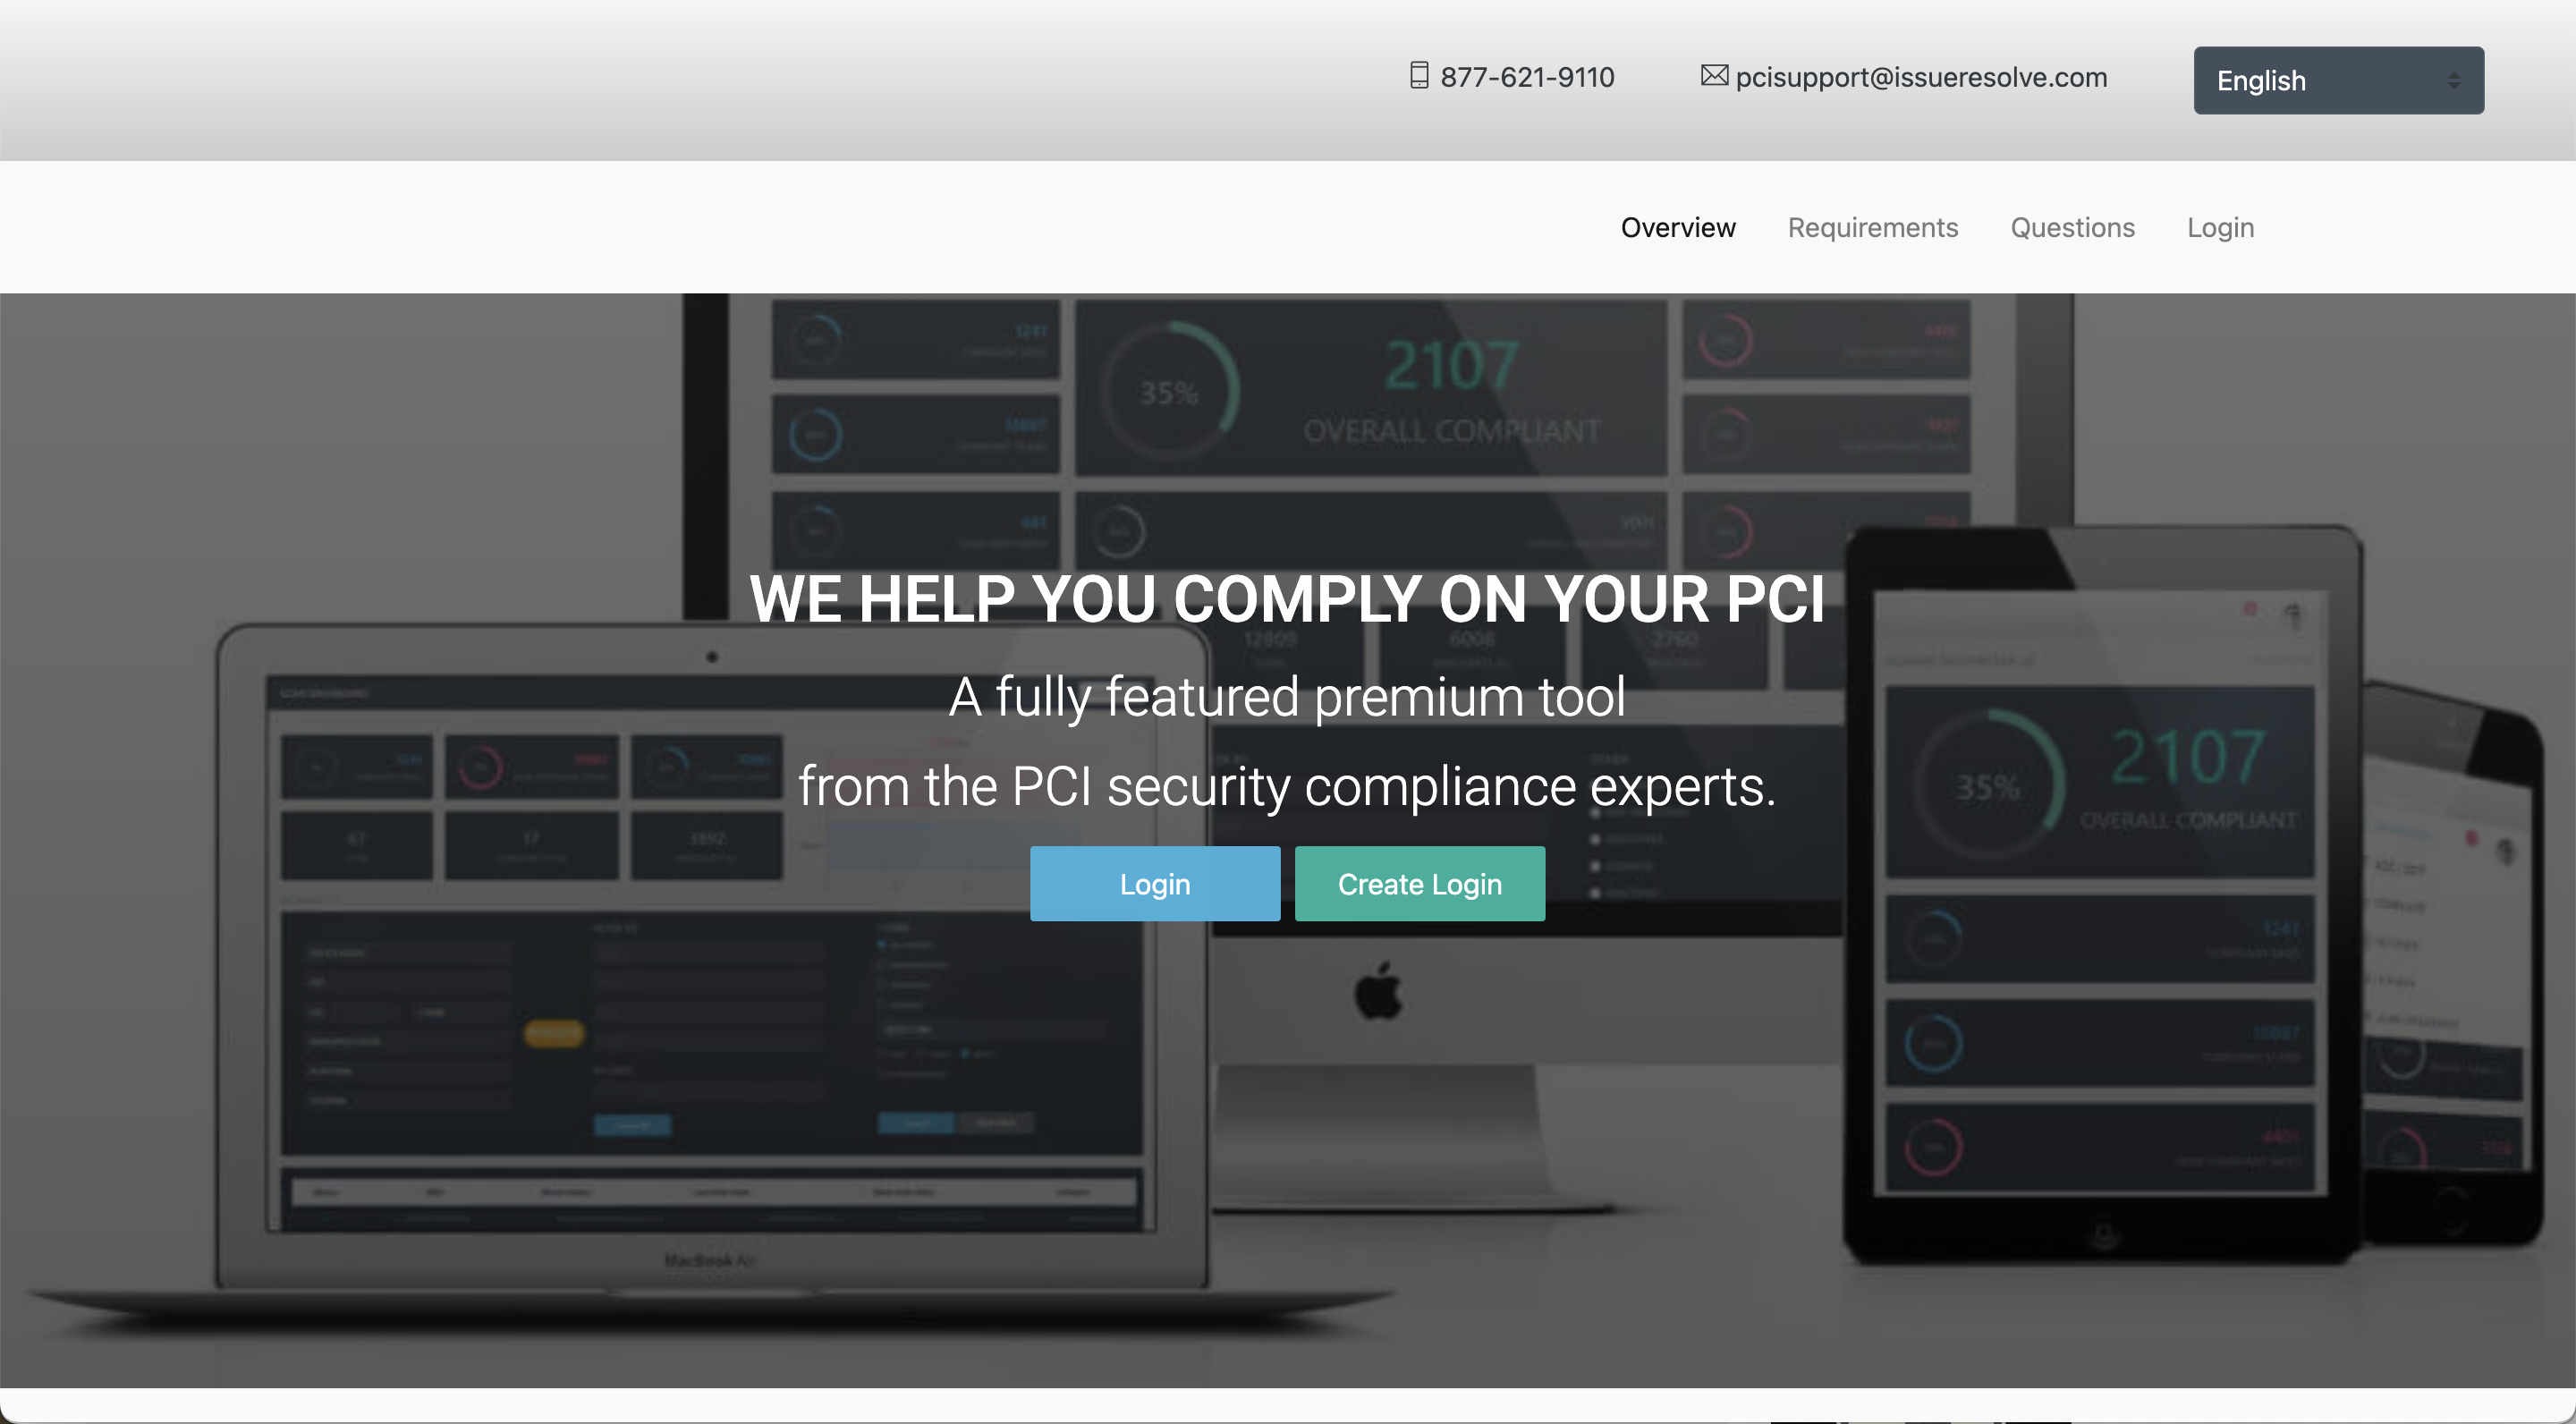
- Visit this URL: https://go.pcicompliance.ws
- Click on the Create Login button in the middle of the screen
4. Complete the PCI Compliance registration process
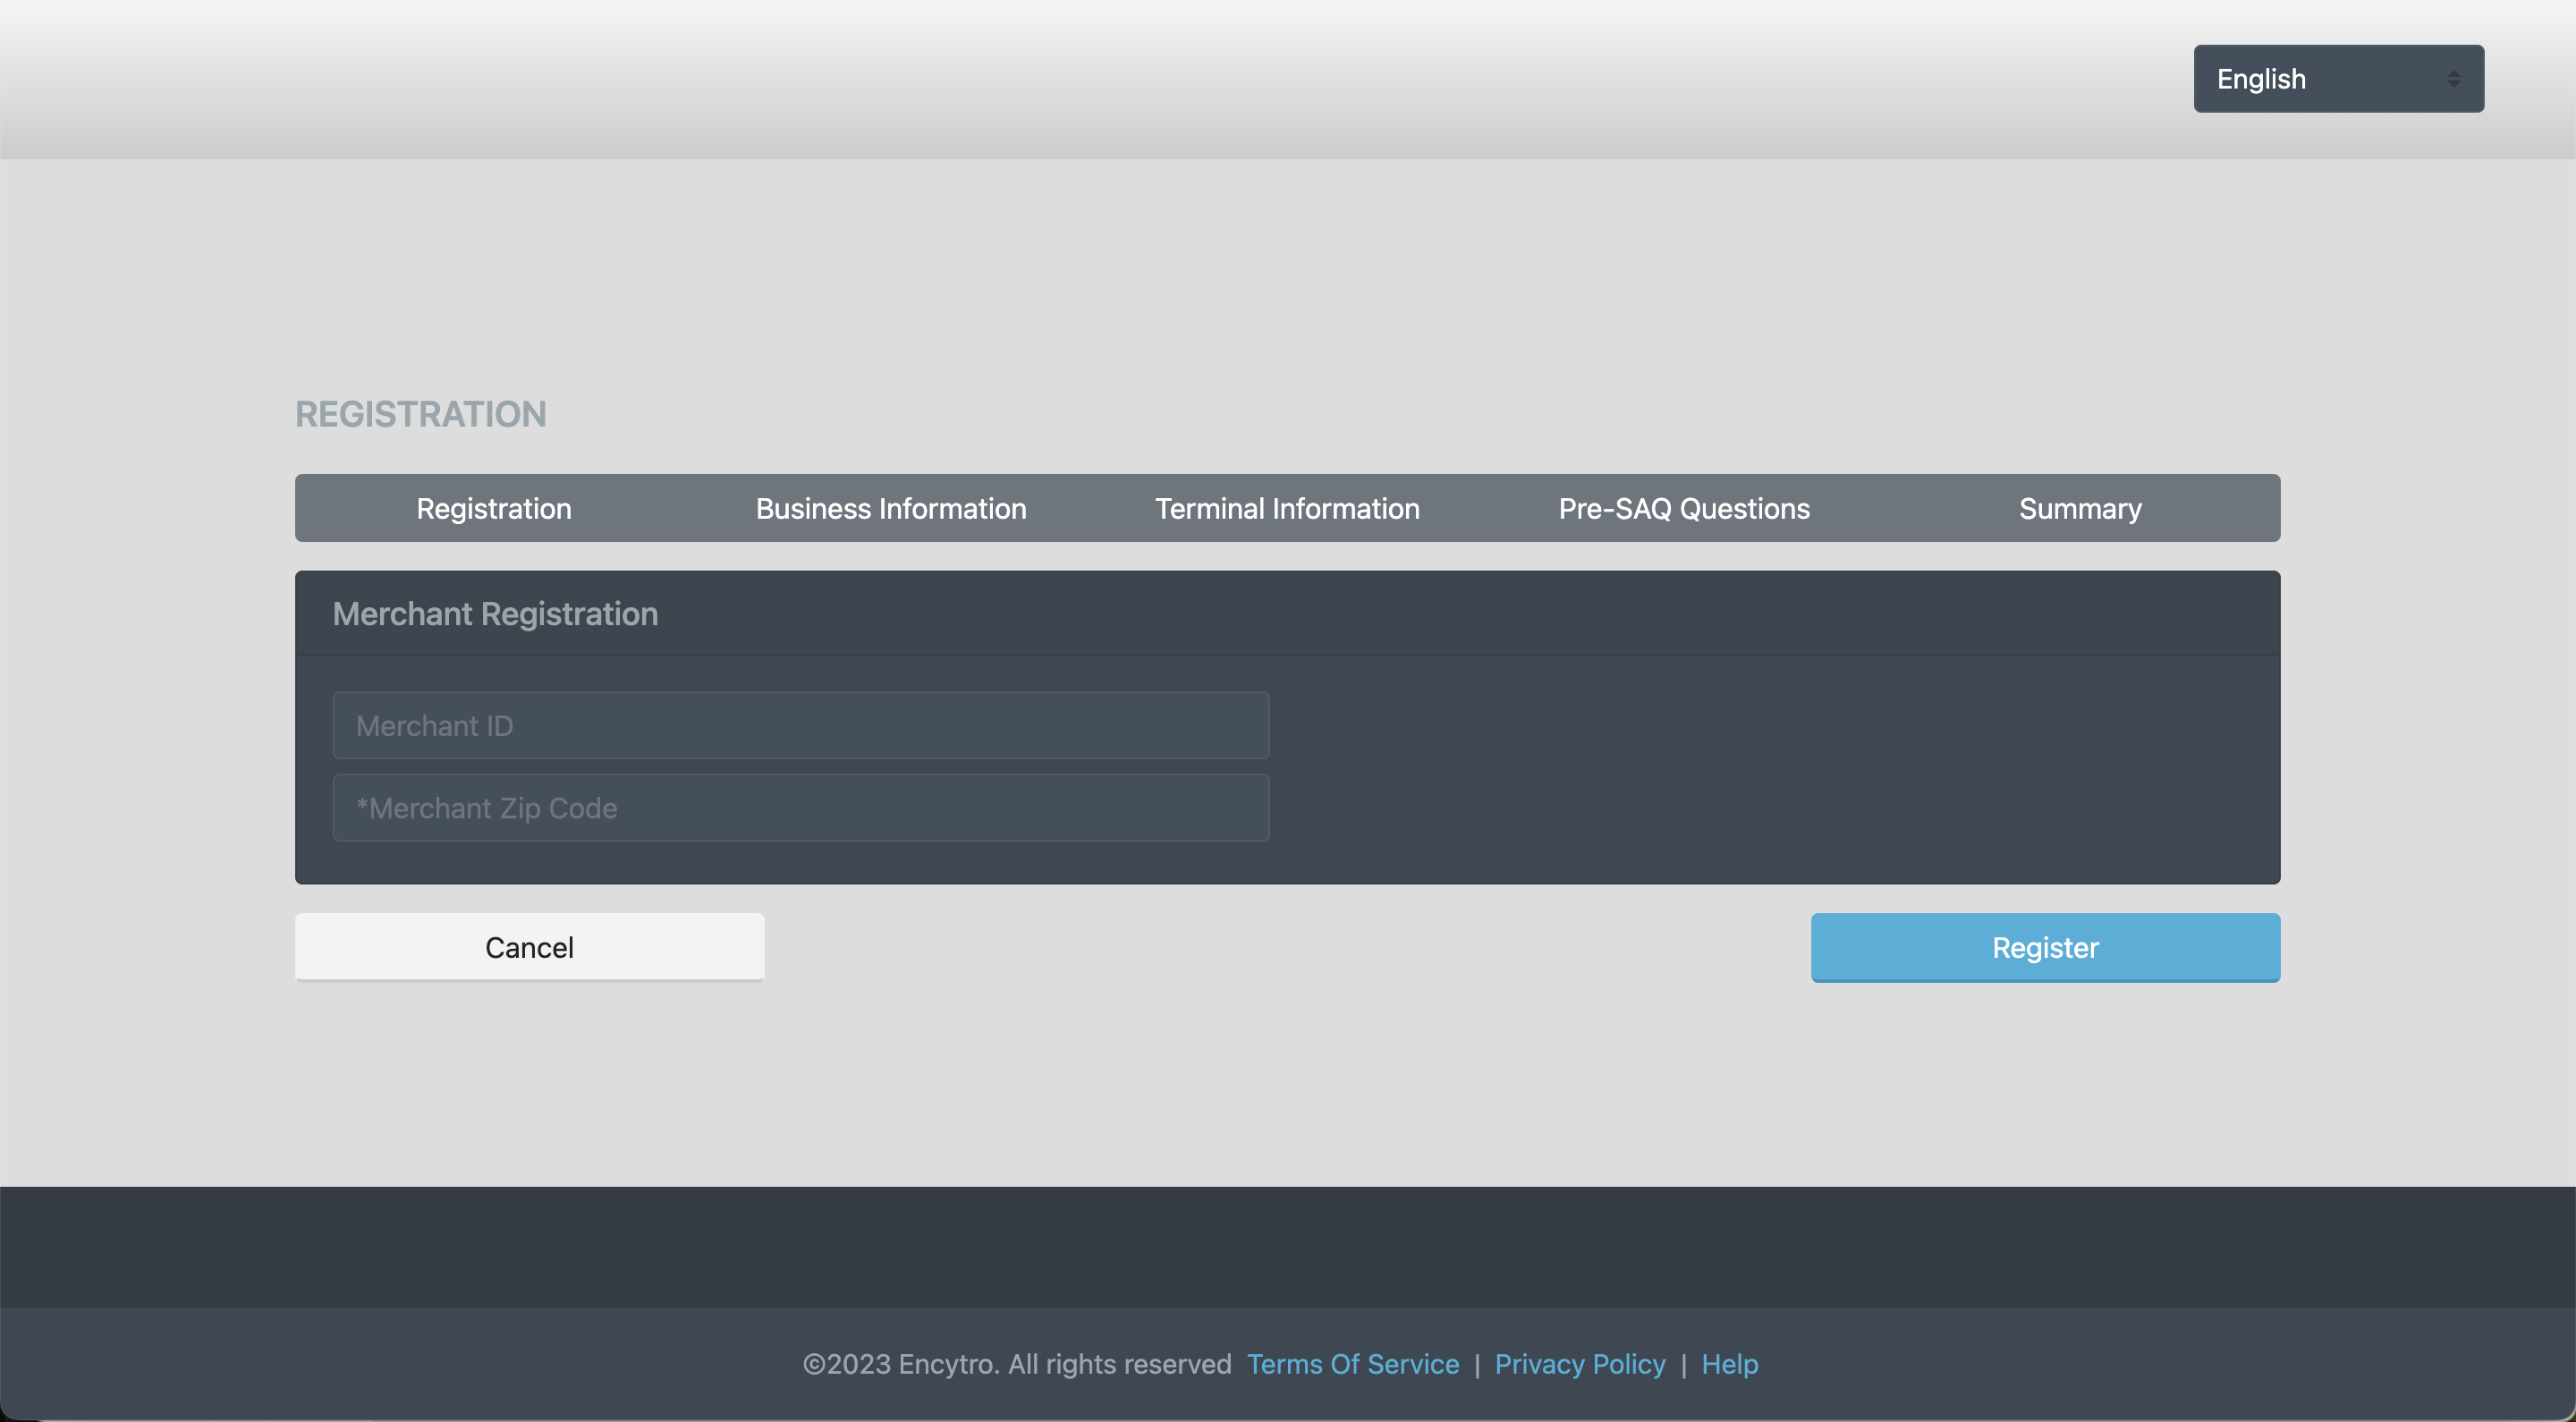
- On the Registration step:
- Enter in your "MID" from step #2 into the Merchant ID field
- Enter in your zip code associated with your merchant address from step #2 into the Merchant Zip Code field
- Once done, click on the Register button
- On the Business Information step:
- Review all of the information and make edits where necessary
- Once done, click on the Continue button
- On the Terminal Information step:
- Write "PromoTix POS system" into the field
- Once done, click on the Continue button
- On the Pre-SAQ Questions step:
- Select Your Customers
- For the question "What business type best describes your business?"
- For processing online ticketing with PromoTix choose the eCommerce option.
- For the question "Do you use an approved P2PE solution from the list of validated solutions?"
- Select I am unsure or we do NOT.
- For the question "Does your website redirect and/or white label all payment related pages to a PCI DSS validated 3rd party vendor such as Shopping Cart or Online Gateway?"
- Select Yes.
- For the question "Are the redirect controls regarding cardholder data on your website:"
- Select Controlled by your PCI DSS validated 3rd party vendor.
- For the question "Do you store credit card holder data electronically in any way?"
- Select We do NOT store card holder data electronically in any way.
- For the question "Is your Virtual Terminal access through?"
- Select Single Location
- For the question "Are there any external devices plugged in to your computer used while processing a credit card to capture or store cardholder data?"
- Select No external devices are used with my Virtual Terminal to capture, store, or process cardholder data.
- For the question "Is your credit card processing terminal/software/virtual terminal connected to any other systems or locations within your environment?"
- Select No, my processing terminal/software/virtual terminal is NOT connected to any other system or location within my environment.
- On the Summary step:
- Review the information and then click on the Accept & Continue button
4. Select PCI SAQ Type
When asked to select a PCI SAQ type, select SAQ A.
5. Complete the Electronic Signature step
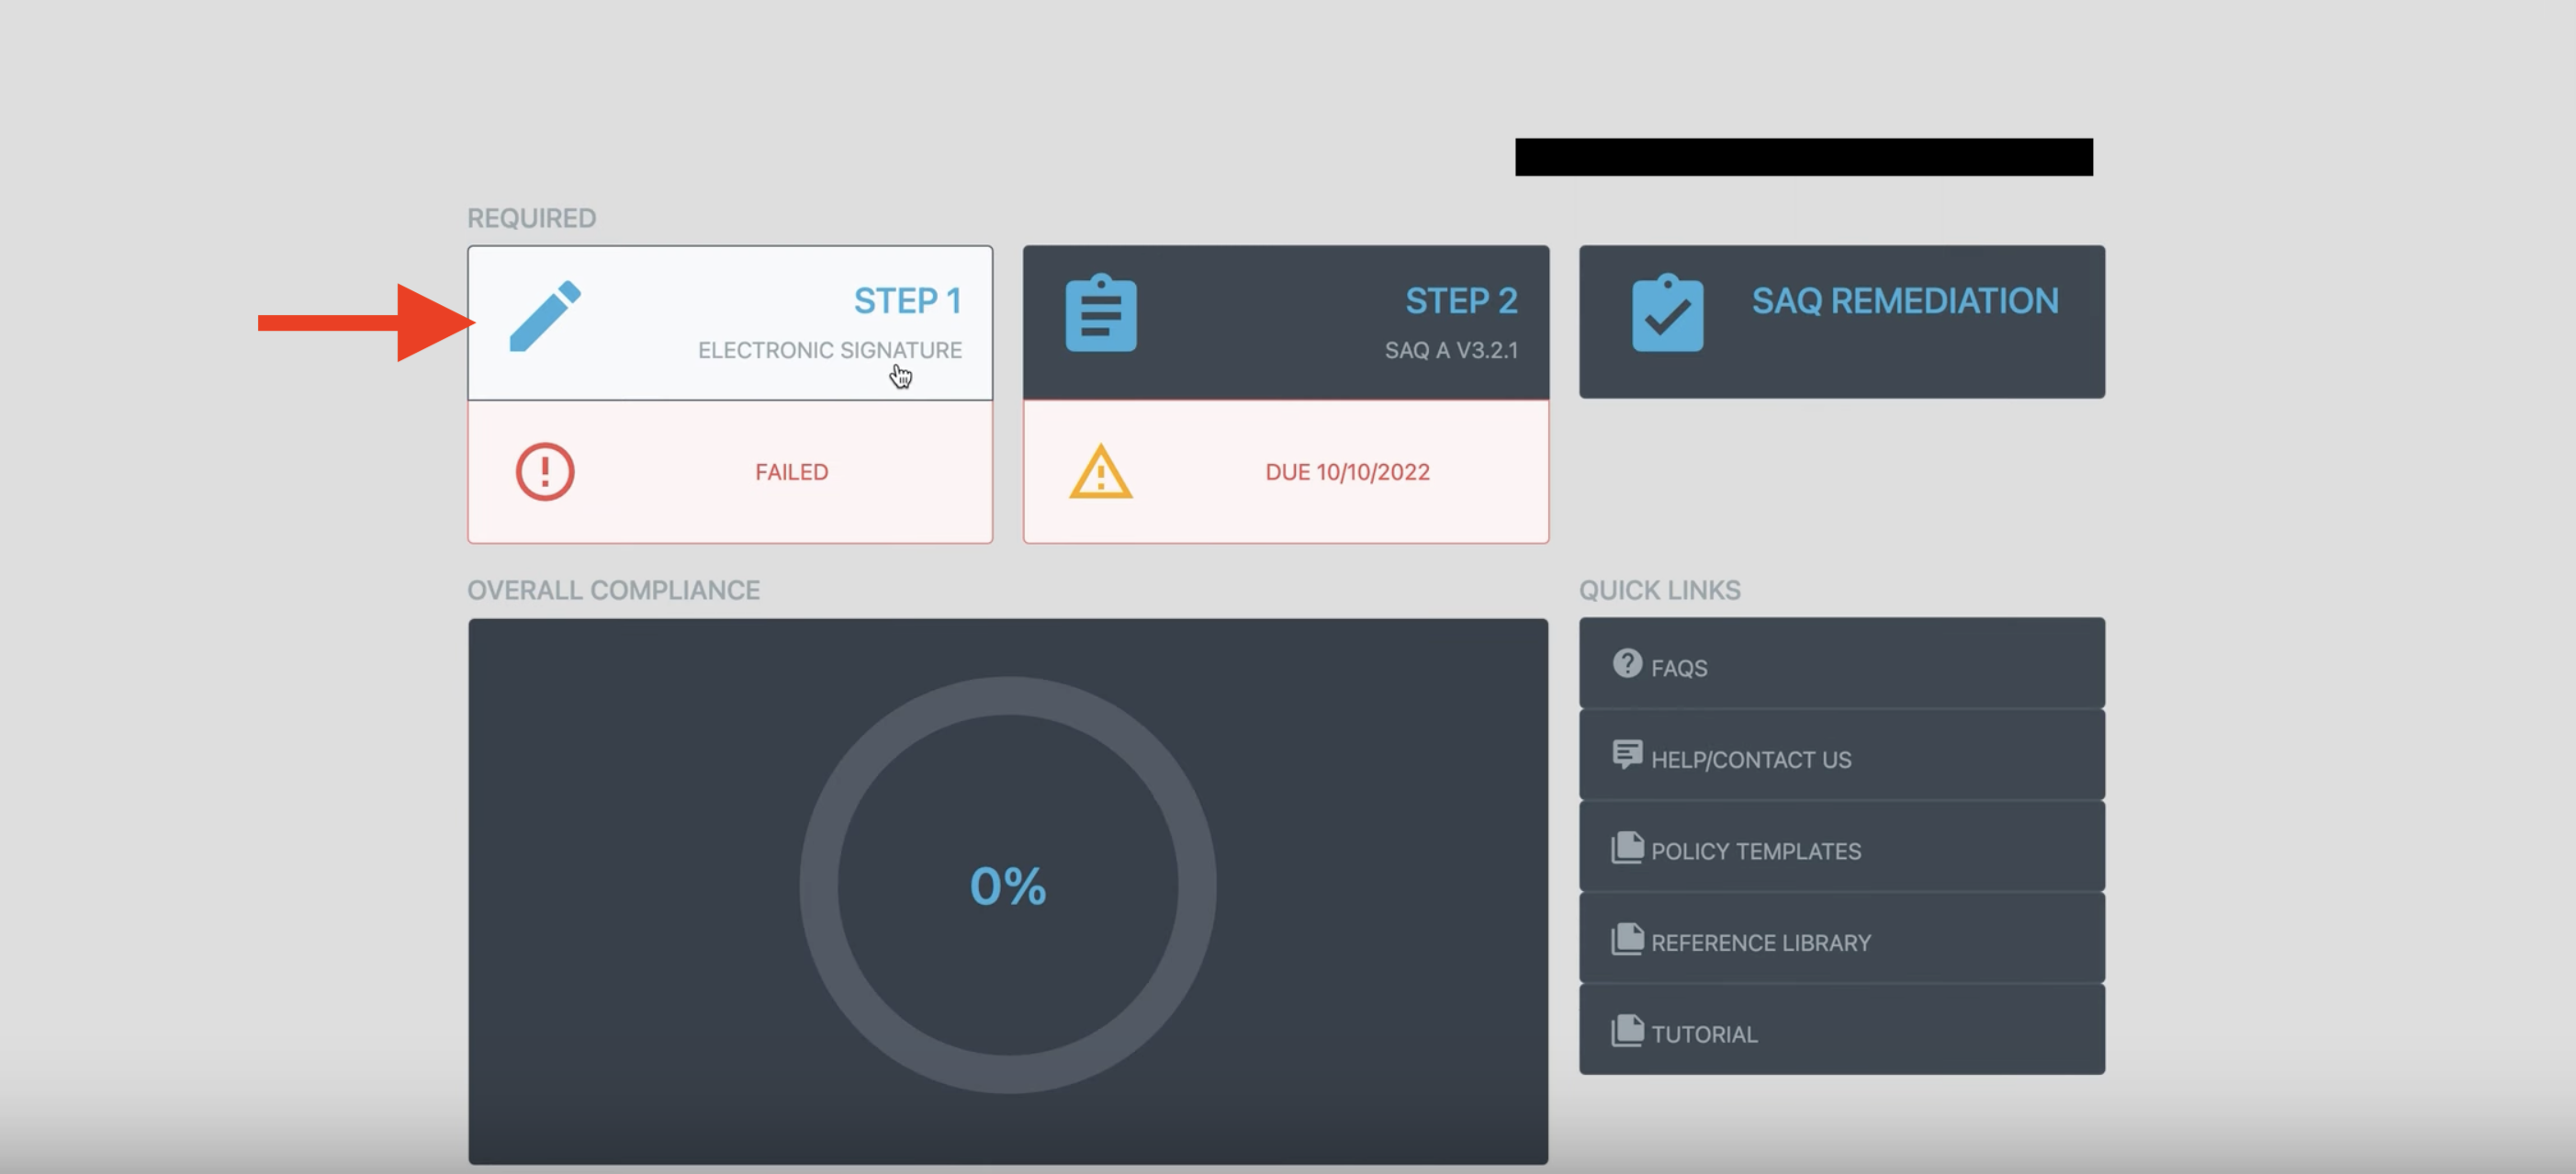
Click on STEP 1 and follow the instructions on screen to complete this step.
6. Complete the SAQ Wizard
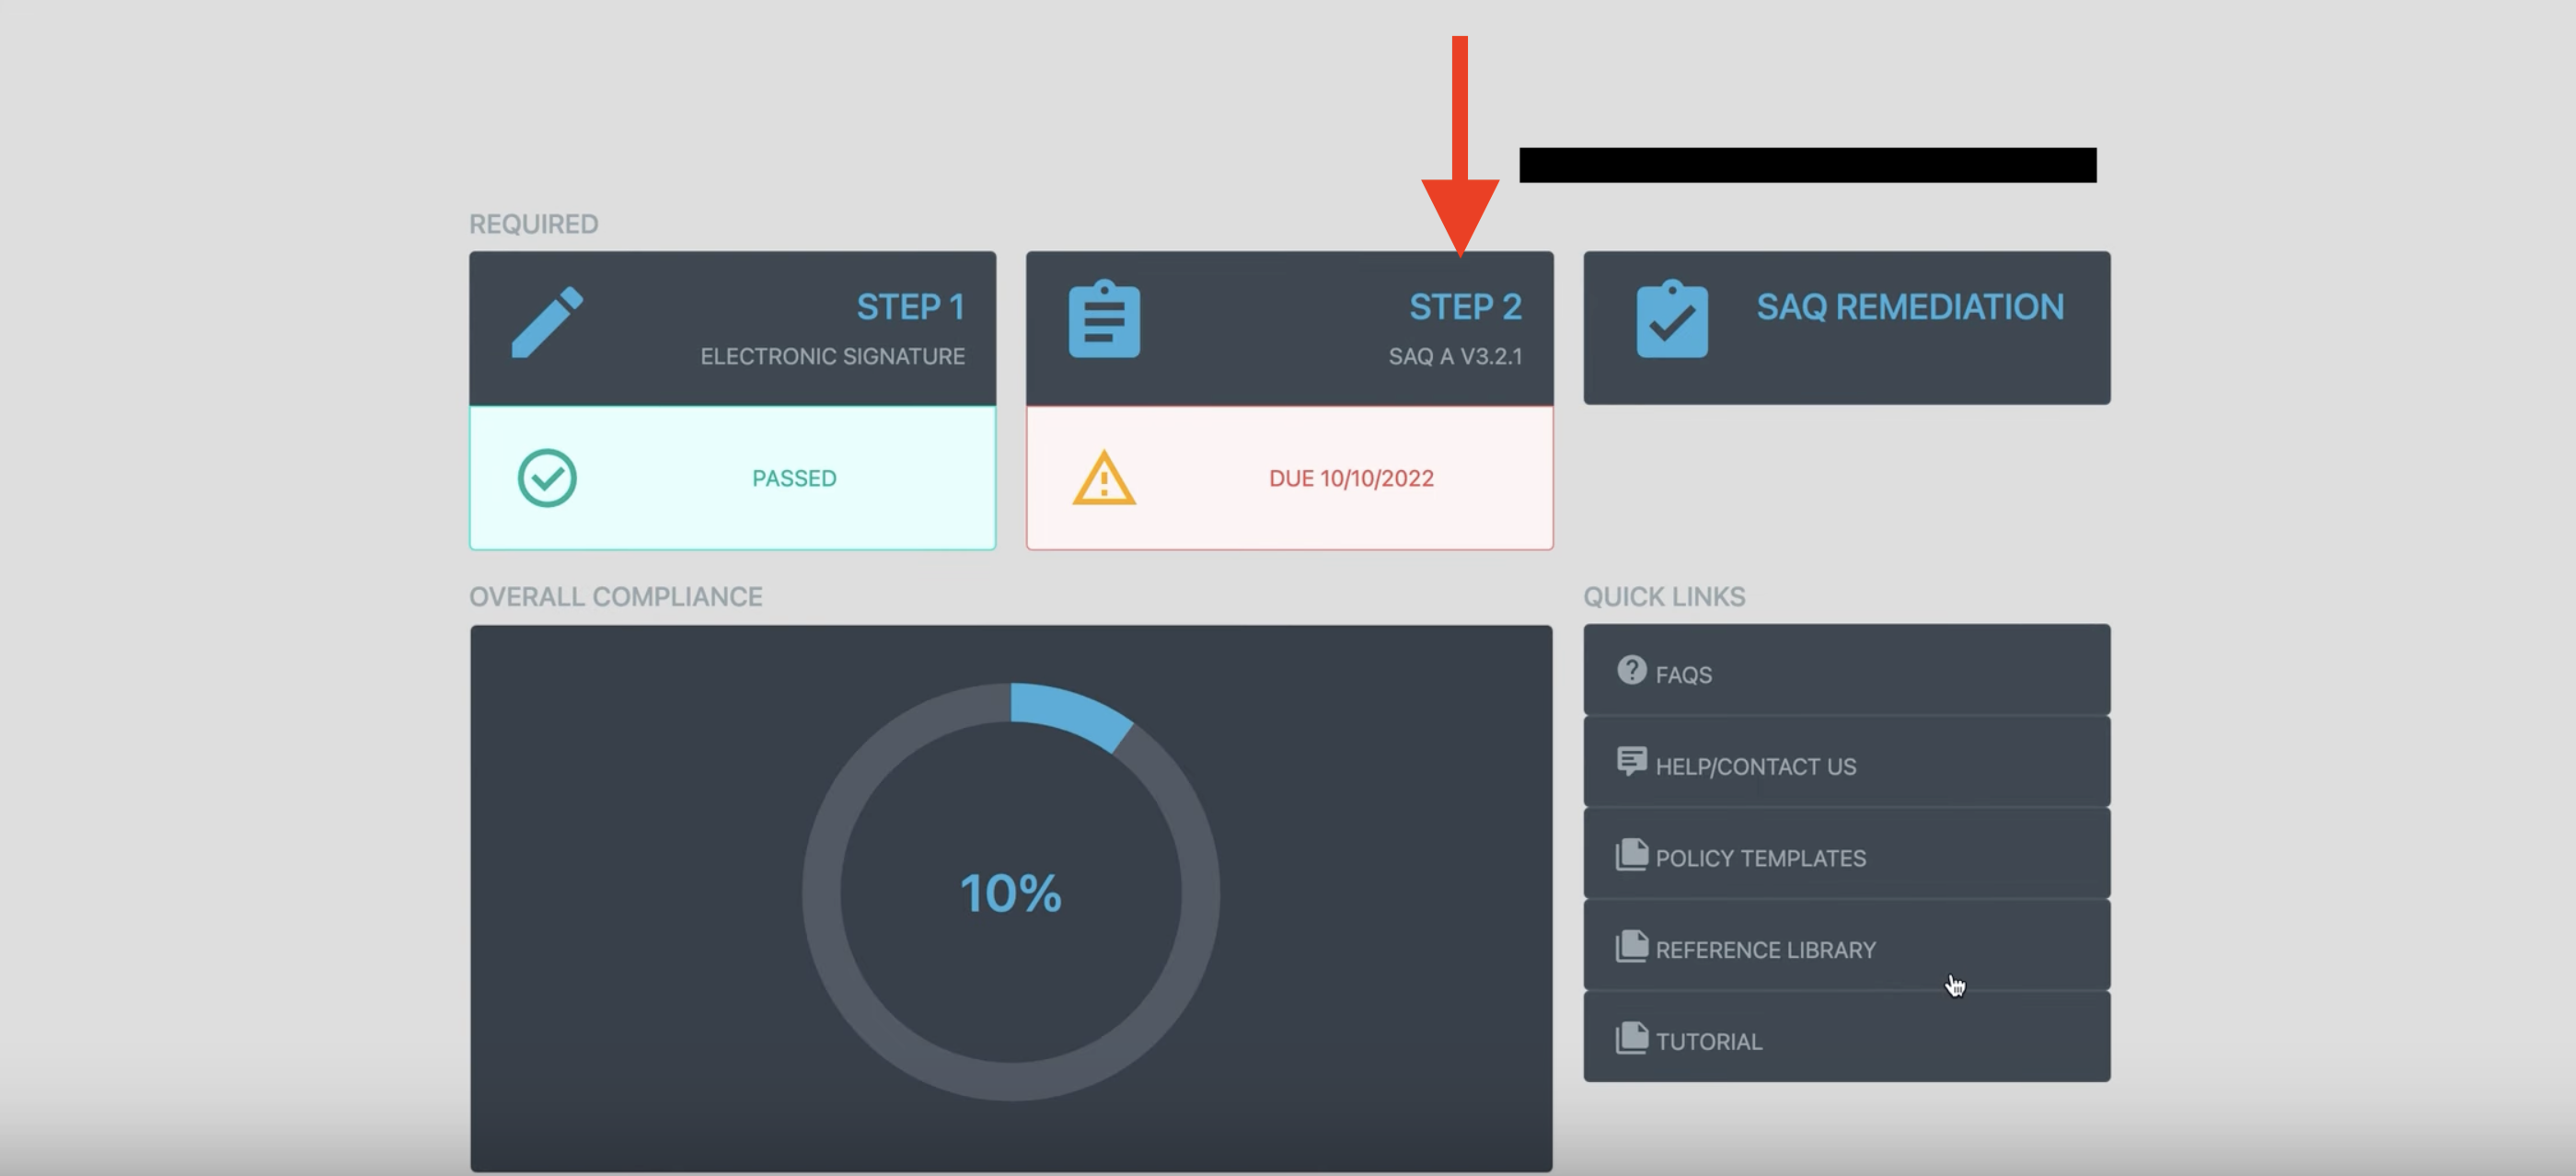
Click on STEP 2 and follow the instructions on screen to complete this step.
- For all questions, the answer should be "In Place"
- On the following screen, click on the Click Here for Annual SAQ Validation button.
- Scroll down and then click on the Return To Dashboard button.
7. Scan

Click on STEP 3 and follow the instructions to schedule a scan to complete this step.
- Click on the Schedule Scan navigation button

- Click on the Schedule Scan navigation button
- Select Schedule Scanning
- Enter the date and time to start scans
- Select Quarterly for the Frequency of Scan
- Select Enter the IP Address / Websites below
- Enter the URL https://app.promotix.com
- Then click the "Schedule /Run Scan" button

8. Verify email
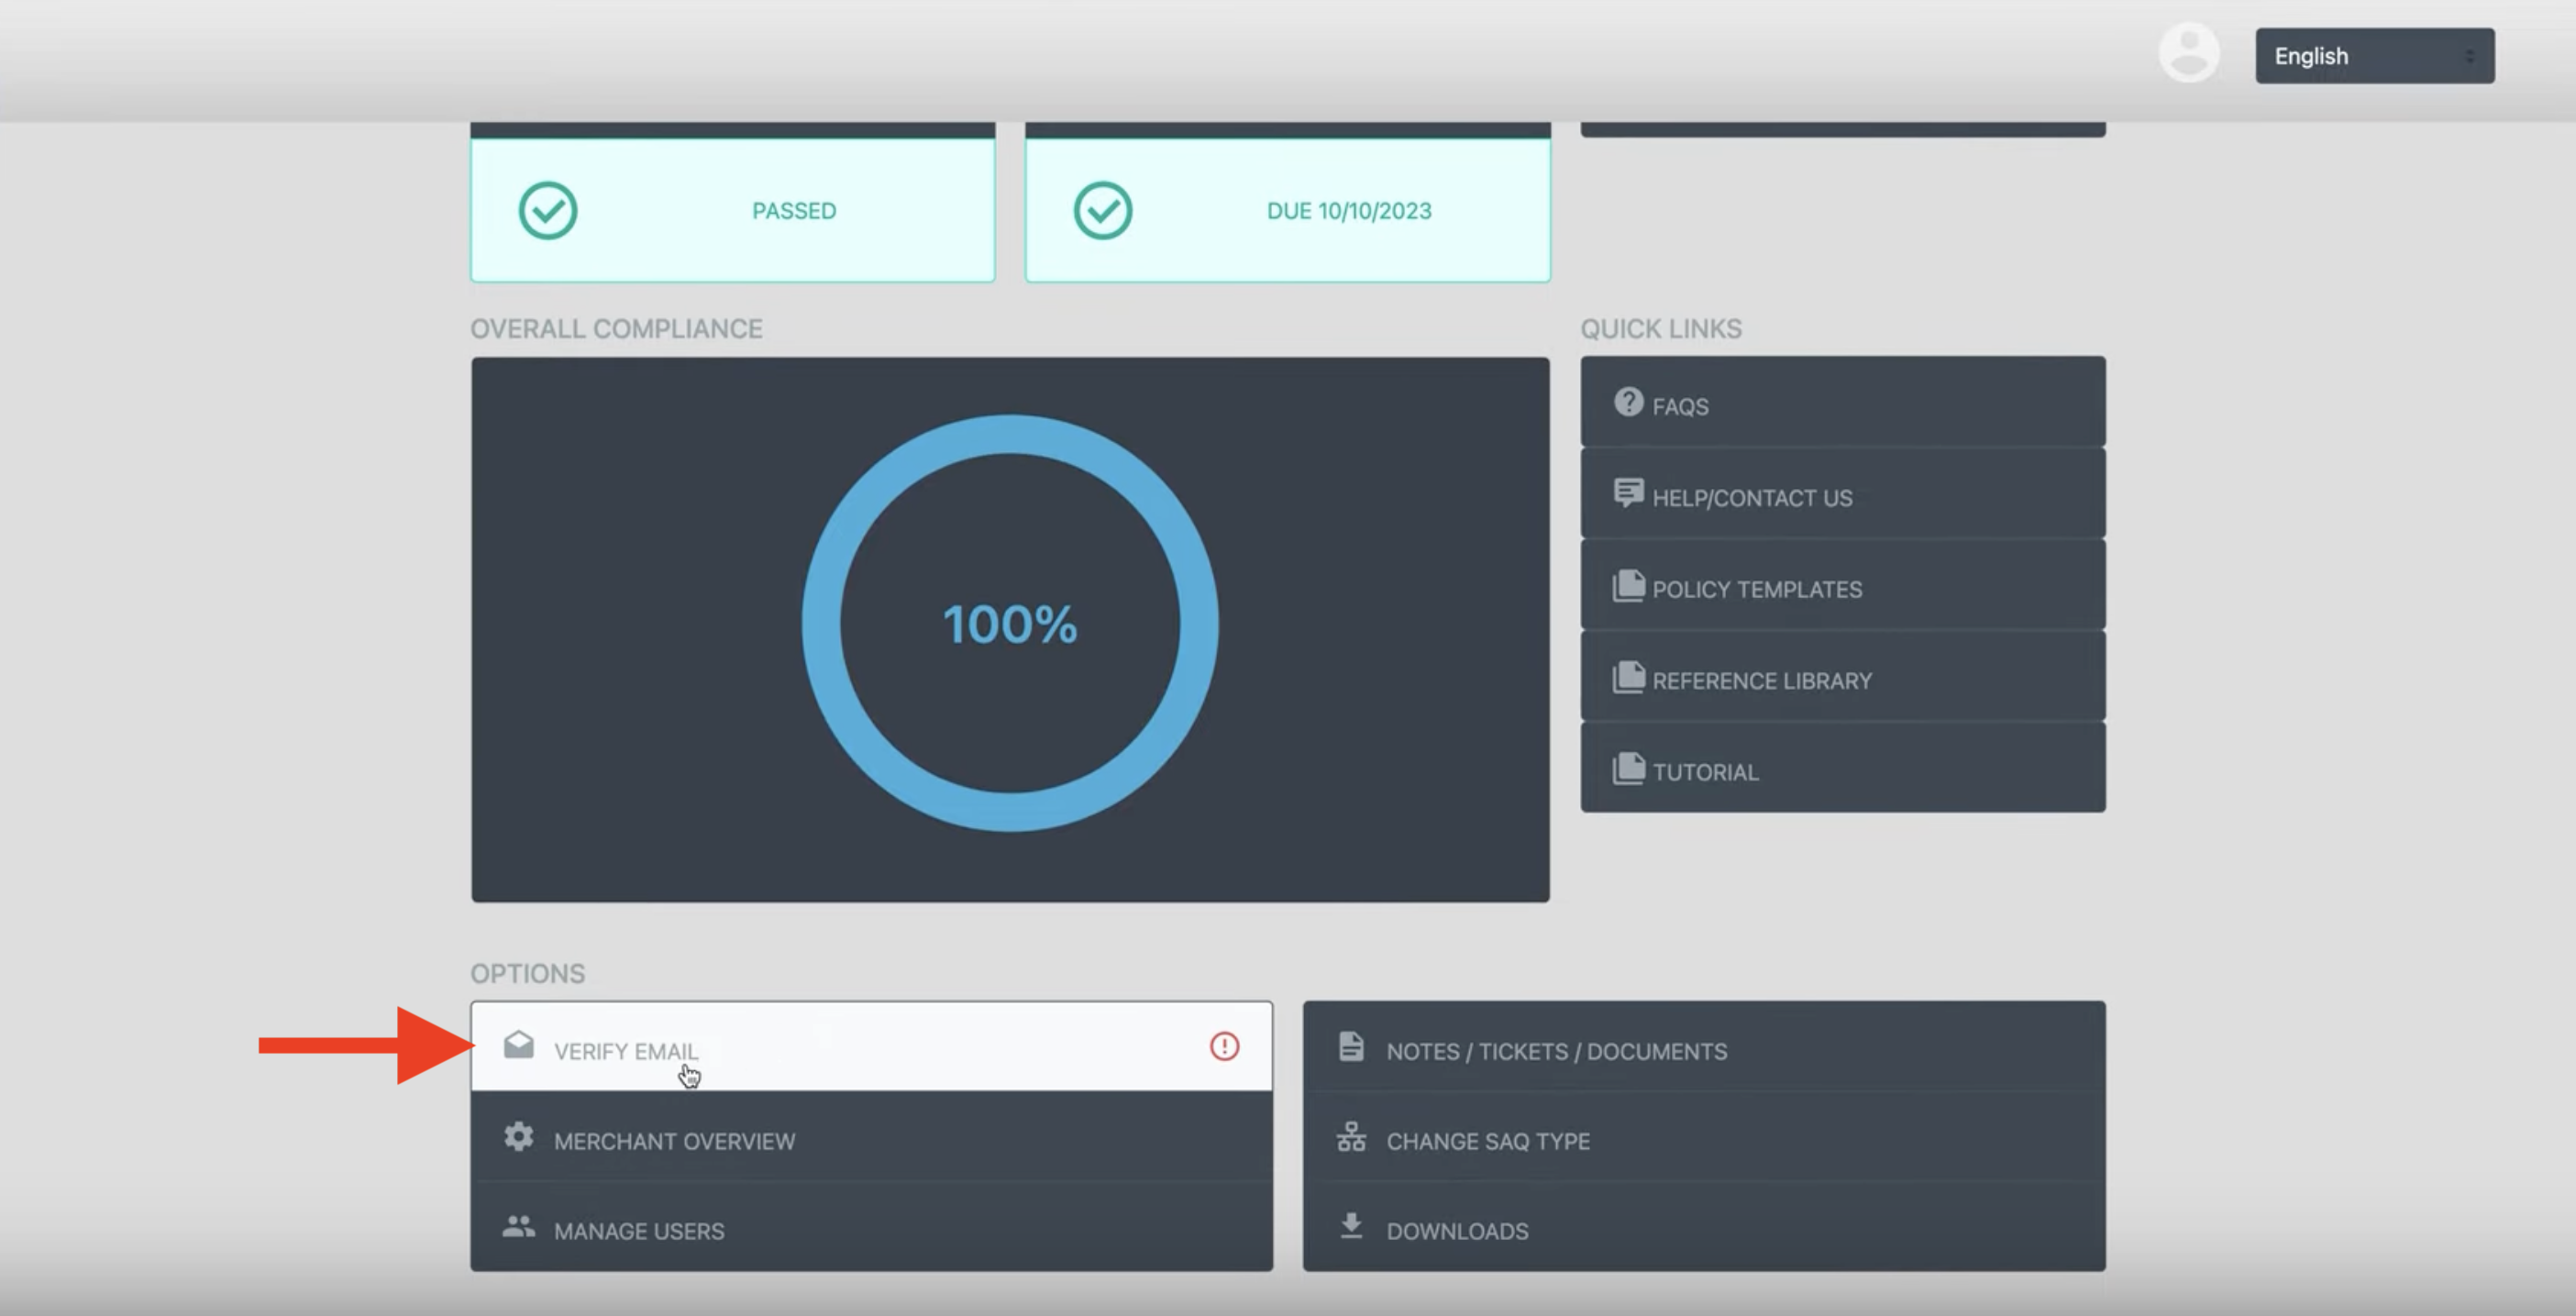 After you have completed the SAQ wizard, scroll down until you see the VERIFY EMAIL button. If there is a red "warning" icon to the right of the button, click on the VERIFY EMAIL button.
- On the following screen, if necessary, click on the SEND/RE-SEND VERIFICATION EMAIL button to resend the verification email to the email address on file.
NOTE: if your email address is not correct, you can also click on the Edit Email Now button to update your account's email address.
- Click on the link in the verification email sent to your inbox to verify your email address.

