Why you should upgrade your audio setup
Since the rise of smartphones and affordable webcams, practically anyone can put together a high quality live stream these days. In fact, there are several instructional videos out there which claim that smartphones are all you need to live stream.
While this is mostly true, spiffing up your audio quality can do leaps and bounds to help you stand out. While it is perfectly acceptable to use most modern phone cameras to record video, this just isn’t the case for recording audio.
Whether you’re streaming your acoustic jam session or teaching an online fitness class, you want your audio crisp and clear of background noises. Let this article serve as a basic guide to producing better audio for those of you who are just starting out.
If you're already slightly on the advanced side, skip straight to our Advanced Live Stream Audio Guide below:

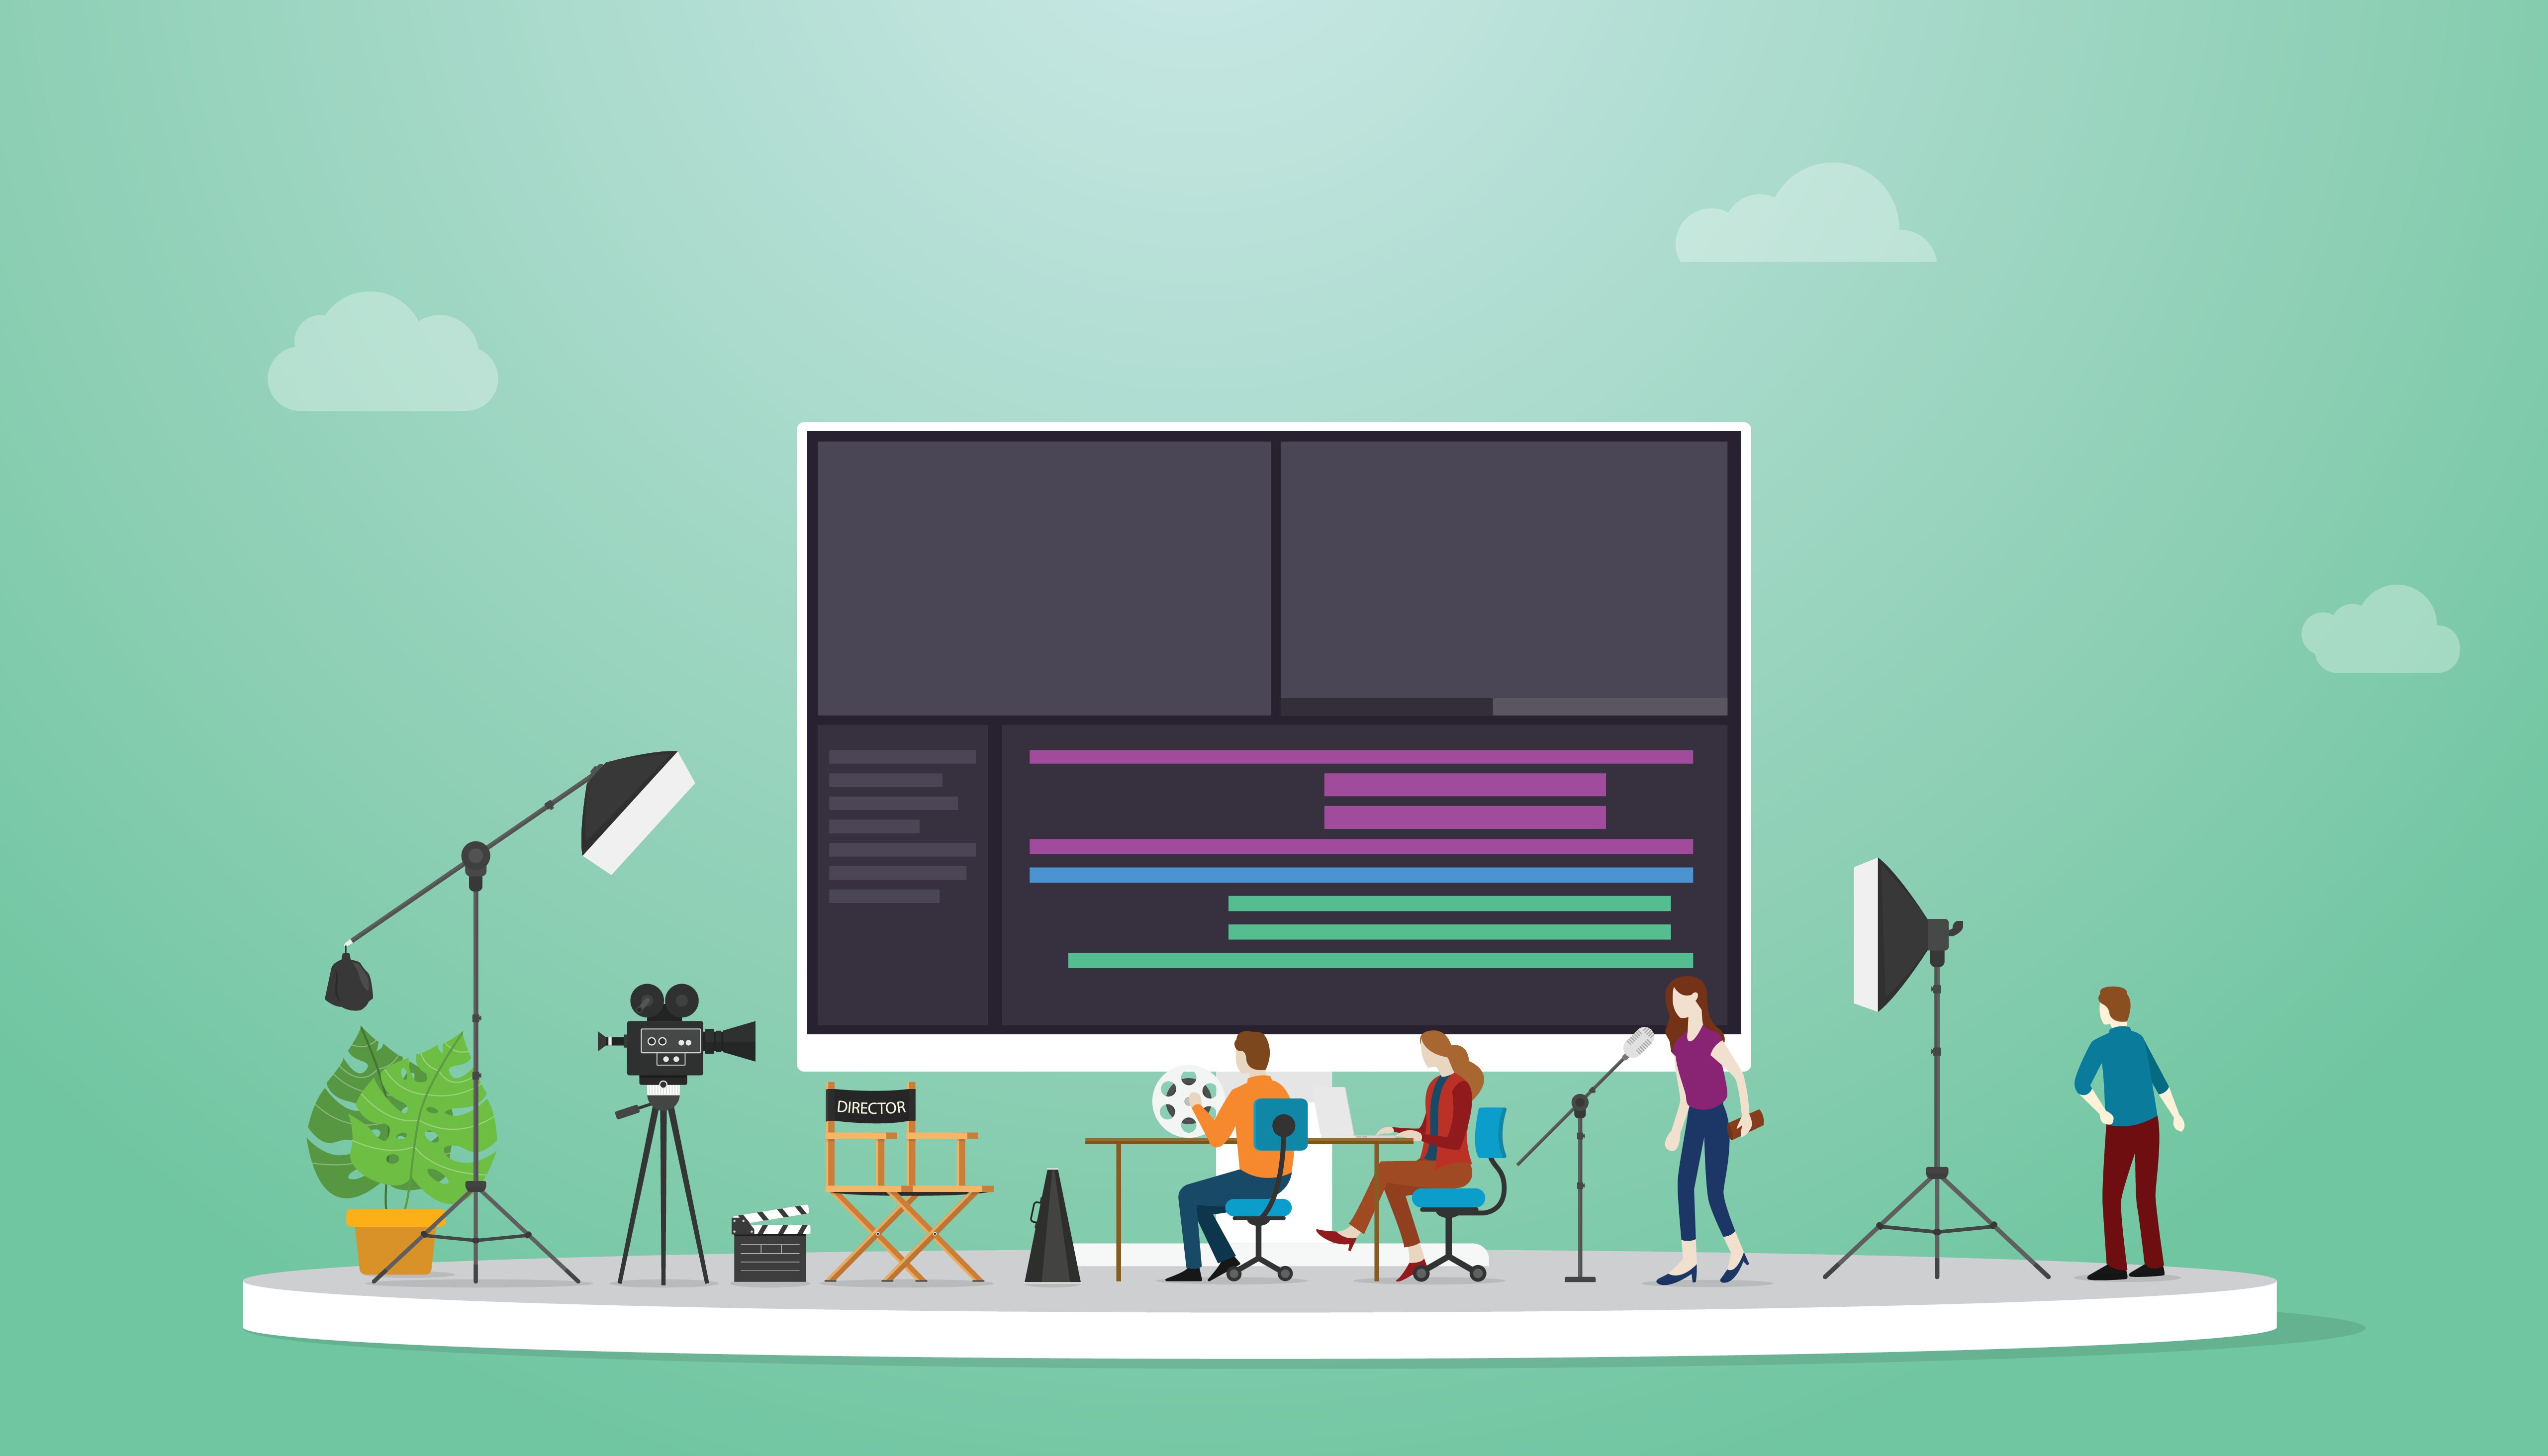
Pro tip #1: use OBS
OBS, or Open Broadcast Software, is open source software, meaning it’s free for everyone. This software is essential for turning your recording equipment into live streaming equipment. OBS is real time recording, broadcasting, and encoding all together. Most live stream software, like PromoStream, integrate seamlessly with OBS.
Basic audio terms
Before you start browsing for new equipment, learning basic audio terminology will help you choose the right tech for your streams. This list will help get you started, but for a deeper dive check out this glossary from Musician on a Mission.
dB’s and EQ
dB’s, or decibels, are units that measure sound level. More dB’s means the sound will be louder. Decibels are commonly used and referenced in audio gear, usually with a colored meter ranging from green to red.
EQ, or equalization, is a tool to adjust frequency levels like highs and lows. Adjusting EQ levels can help voices sound cleaner and brighter.
Clipping
Clipping occurs when audio levels are "too hot" for the equipment receiving them, and this results results in nasty distortion. Avoid this by keeping an eye on your meters, and turn down your levels if they start to approach or exceed 0 dB. You always want to keep a healthy amount of space (or "headroom") between your audio peaks and 0 dB on your meters.
Reverb and plosives
Similar to an echo, reverberation (or reverb) is created when sound reflects off of many surfaces. In layman's terms, this is the reason why your voice sounds differently in different spaces.
"Plosives" are unwanted muffled sounds you hear when somebody speaks into a microphone and uses consonants. The most problematic is the consonant “P." Use the right recording equipment to reduce plosives.
Gain
This is input volume, or microphone sensitivity. Many microphones have gain control where volume is increased or decreased before it is sent to the main output source.
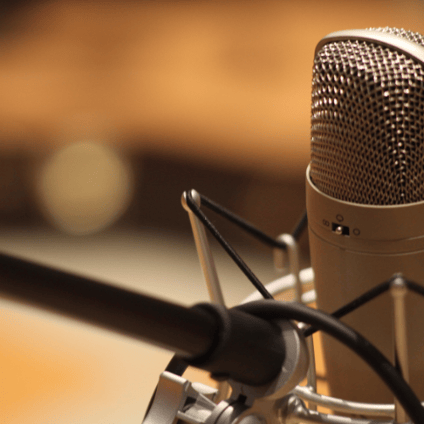
Using the right tool for the job
The number of different microphones out there can be overwhelming. The best one for you depends on what type of live stream you’re recording: does the microphone need to be out of the shot? Are you recording instruments? Is the subject moving around freely? Take these questions into consideration when browsing microphones. Some microphones serve multiple purposes, and others aren’t built for certain situations and they could end up working against you.
Pay attention to the cables your equipment comes with (or requires) as well. Aside from the actual hardware itself, the second most important element is connection. You want to be sure that your microphone cables (input) fit into your chosen output source. This could be your speakers, computer, an audio mixer, etc. You will need to purchase a converter if your input cable is different from your output cable.
If you’re streaming with multiple channels of audio input, you certainly need to look into buying an audio mixer. An audio mixer is the best way for you to manage multiple channels and EQ them. Mixing audio is an art form, but it's also pretty straightforward for beginners to get started. A small mixer like this interface from Behringer is a great option for starting out.
Location matters
If possible, you should record audio in a room with favorable acoustics. If you’re live streaming from home, you can achieve this by using a smaller room, and covering hard surfaces with blankets and pillows. If you have a permanent space dedicated to live streaming, you will probably want to invest in acoustic foam.
If you’re streaming outdoors, you have to think about uncontrollable factors like background noise and weather. At the very least, you will want a windscreen for your mic. If you’re concerned about background noise, you should take that into consideration when you’re shopping for microphones.
Testing, testing, 1-2-3…
There are quite a few steps you will take to prepare for your live streams. Lesson plans, writing the perfect script, and most importantly, testing your equipment. If you’re using an audio mixer, this is when you’ll EQ everything. Make sure your microphone is set up properly, and is close enough to the subject. Test your microphone and watch your meters to make sure you have enough headroom. Try listening from multiple devices — as many as you have that you think your audience would be likely to use.
No great show goes on without at least one rehearsal. Live streams, especially paid ticketed streams, should be planned and practiced for the benefit of both you and your viewers. Test your equipment and rehearse as many times as you need to to feel confident. If you practice, you're more likely to stay on top of the ball and present your viewers with a stellar experience.
.png?width=680&name=Untitled%20design%20(2).png)
Pro tip #2: speak up!
Fancy technology can only do so much if it's not being used properly. If your live stream consists of heavy dialogue, take a second to review proper technique with all of your speakers. If you plan to live stream on a regular basis, it may benefit you to do some articulation exercises, or learn about voice projection for acting.
Get ready to go live!
Enhancing your audio may seem like an advanced practice, but it becomes less intimidating with even a little education and practice.
If you want to dive a little deeper, check out our advanced audio guide below!