All Posts

How to create a discount code

(Last Updated 1/17/24)

Utilizing discount codes can be an excellent way to convince people to purchase tickets to your event. Discount codes that you create can be redeemed by your ticket buyers during the checkout process. This article teaches you how to create discount codes for your events on PromoTix.

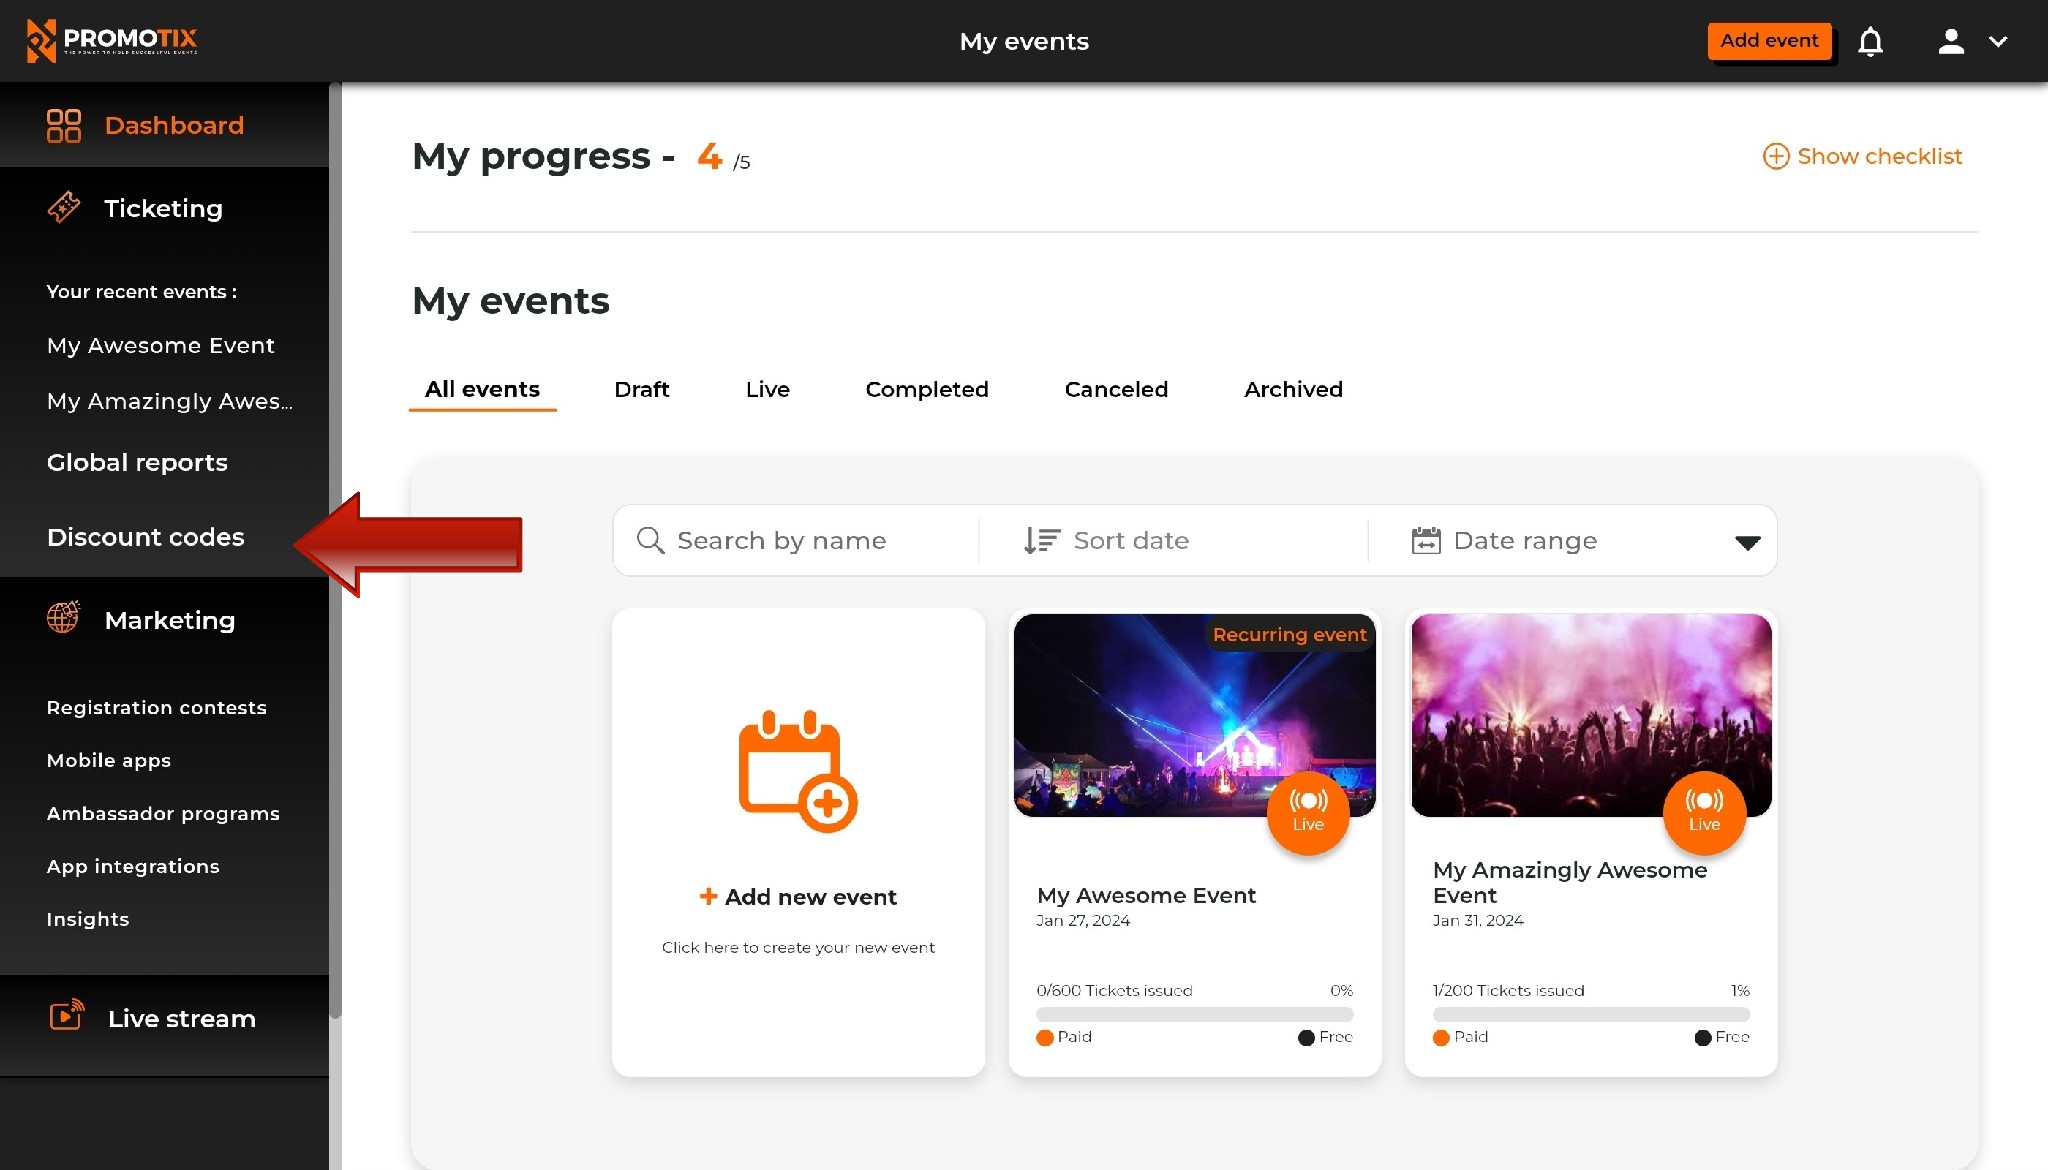
1. Click on one of your live events, and then click on the "Discount codes" tab

Discount Code Button

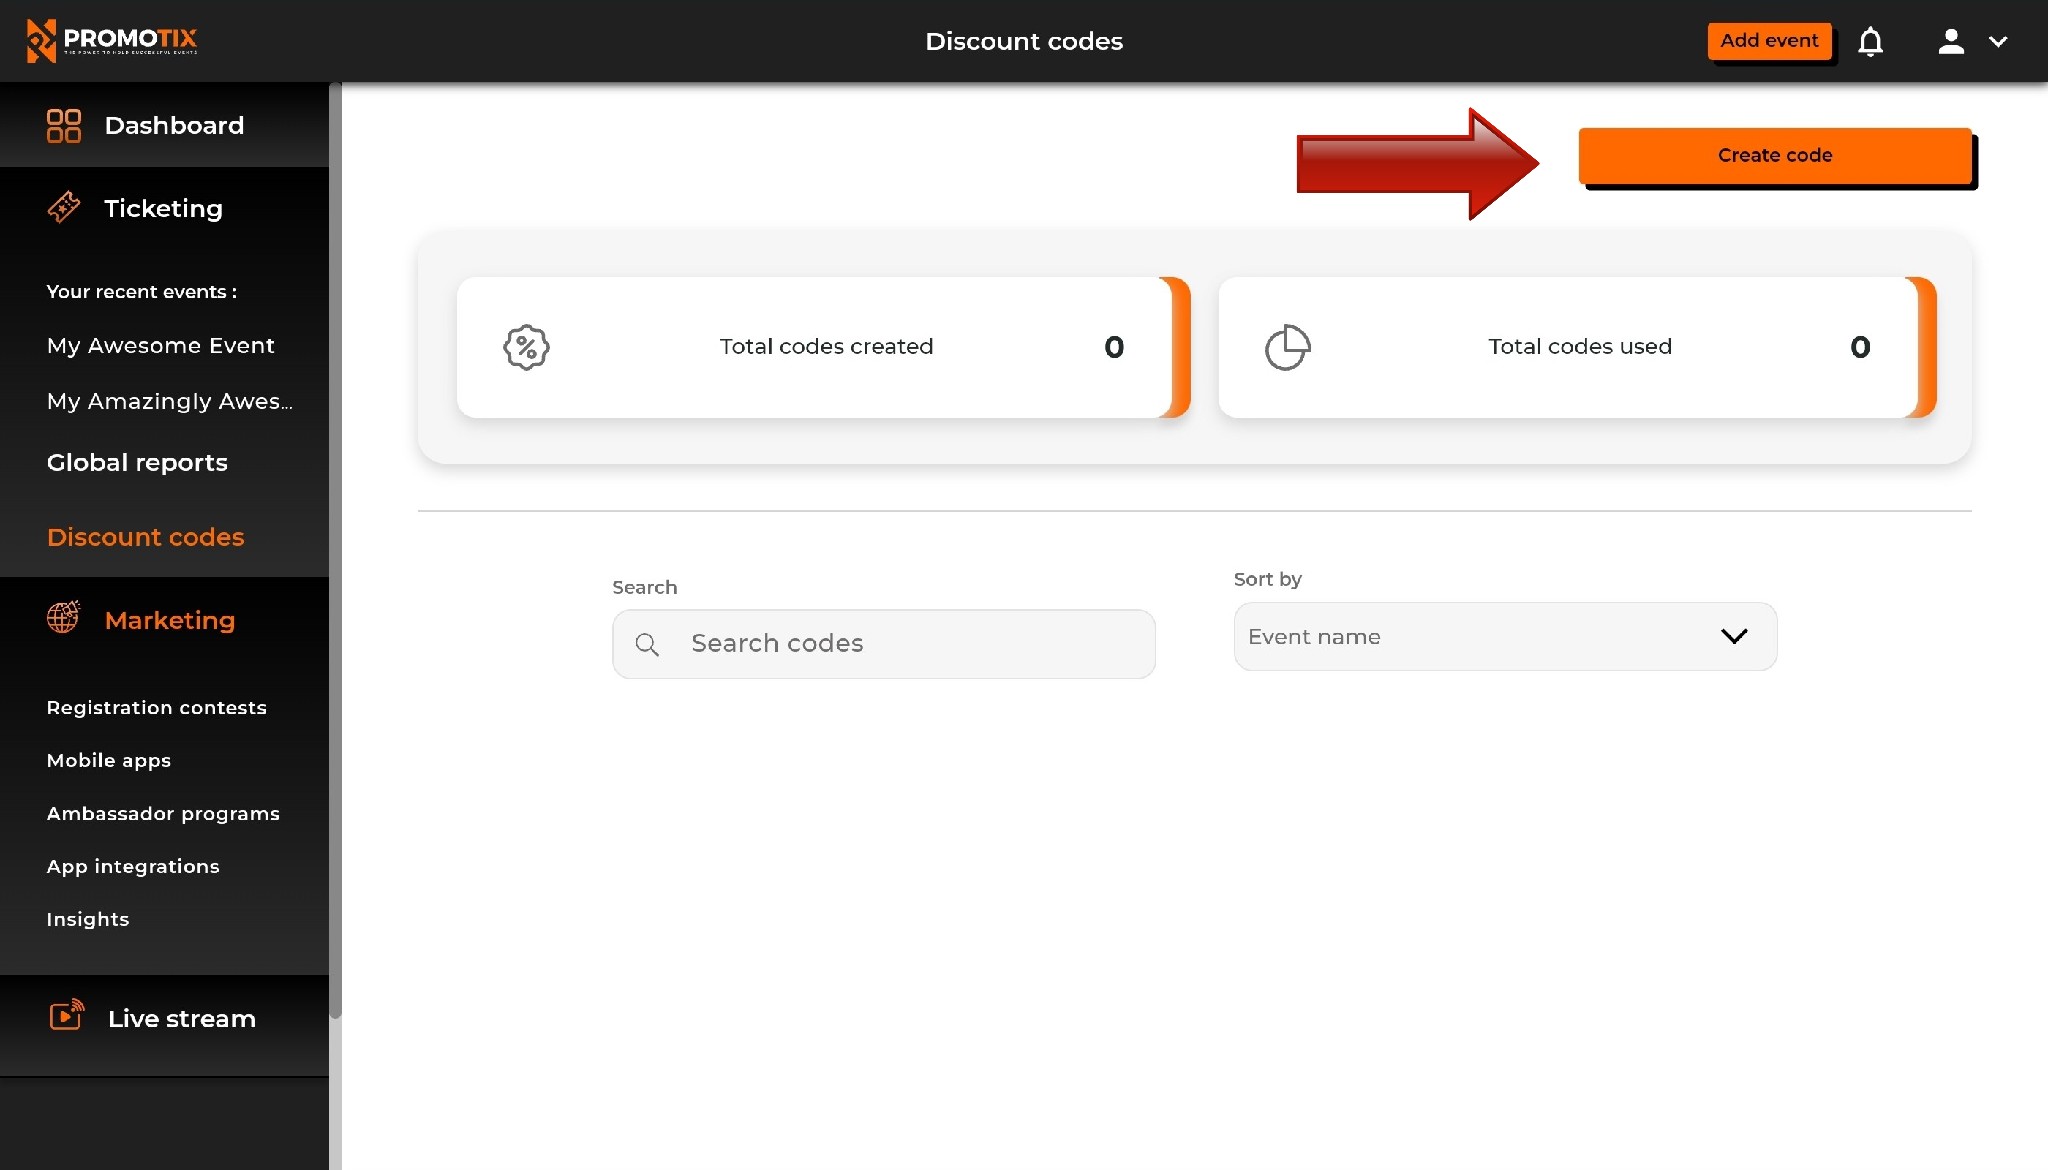
2. Click on "Create code"

Create Code Button

3. Fill out the settings to create your discount code

Create discount code

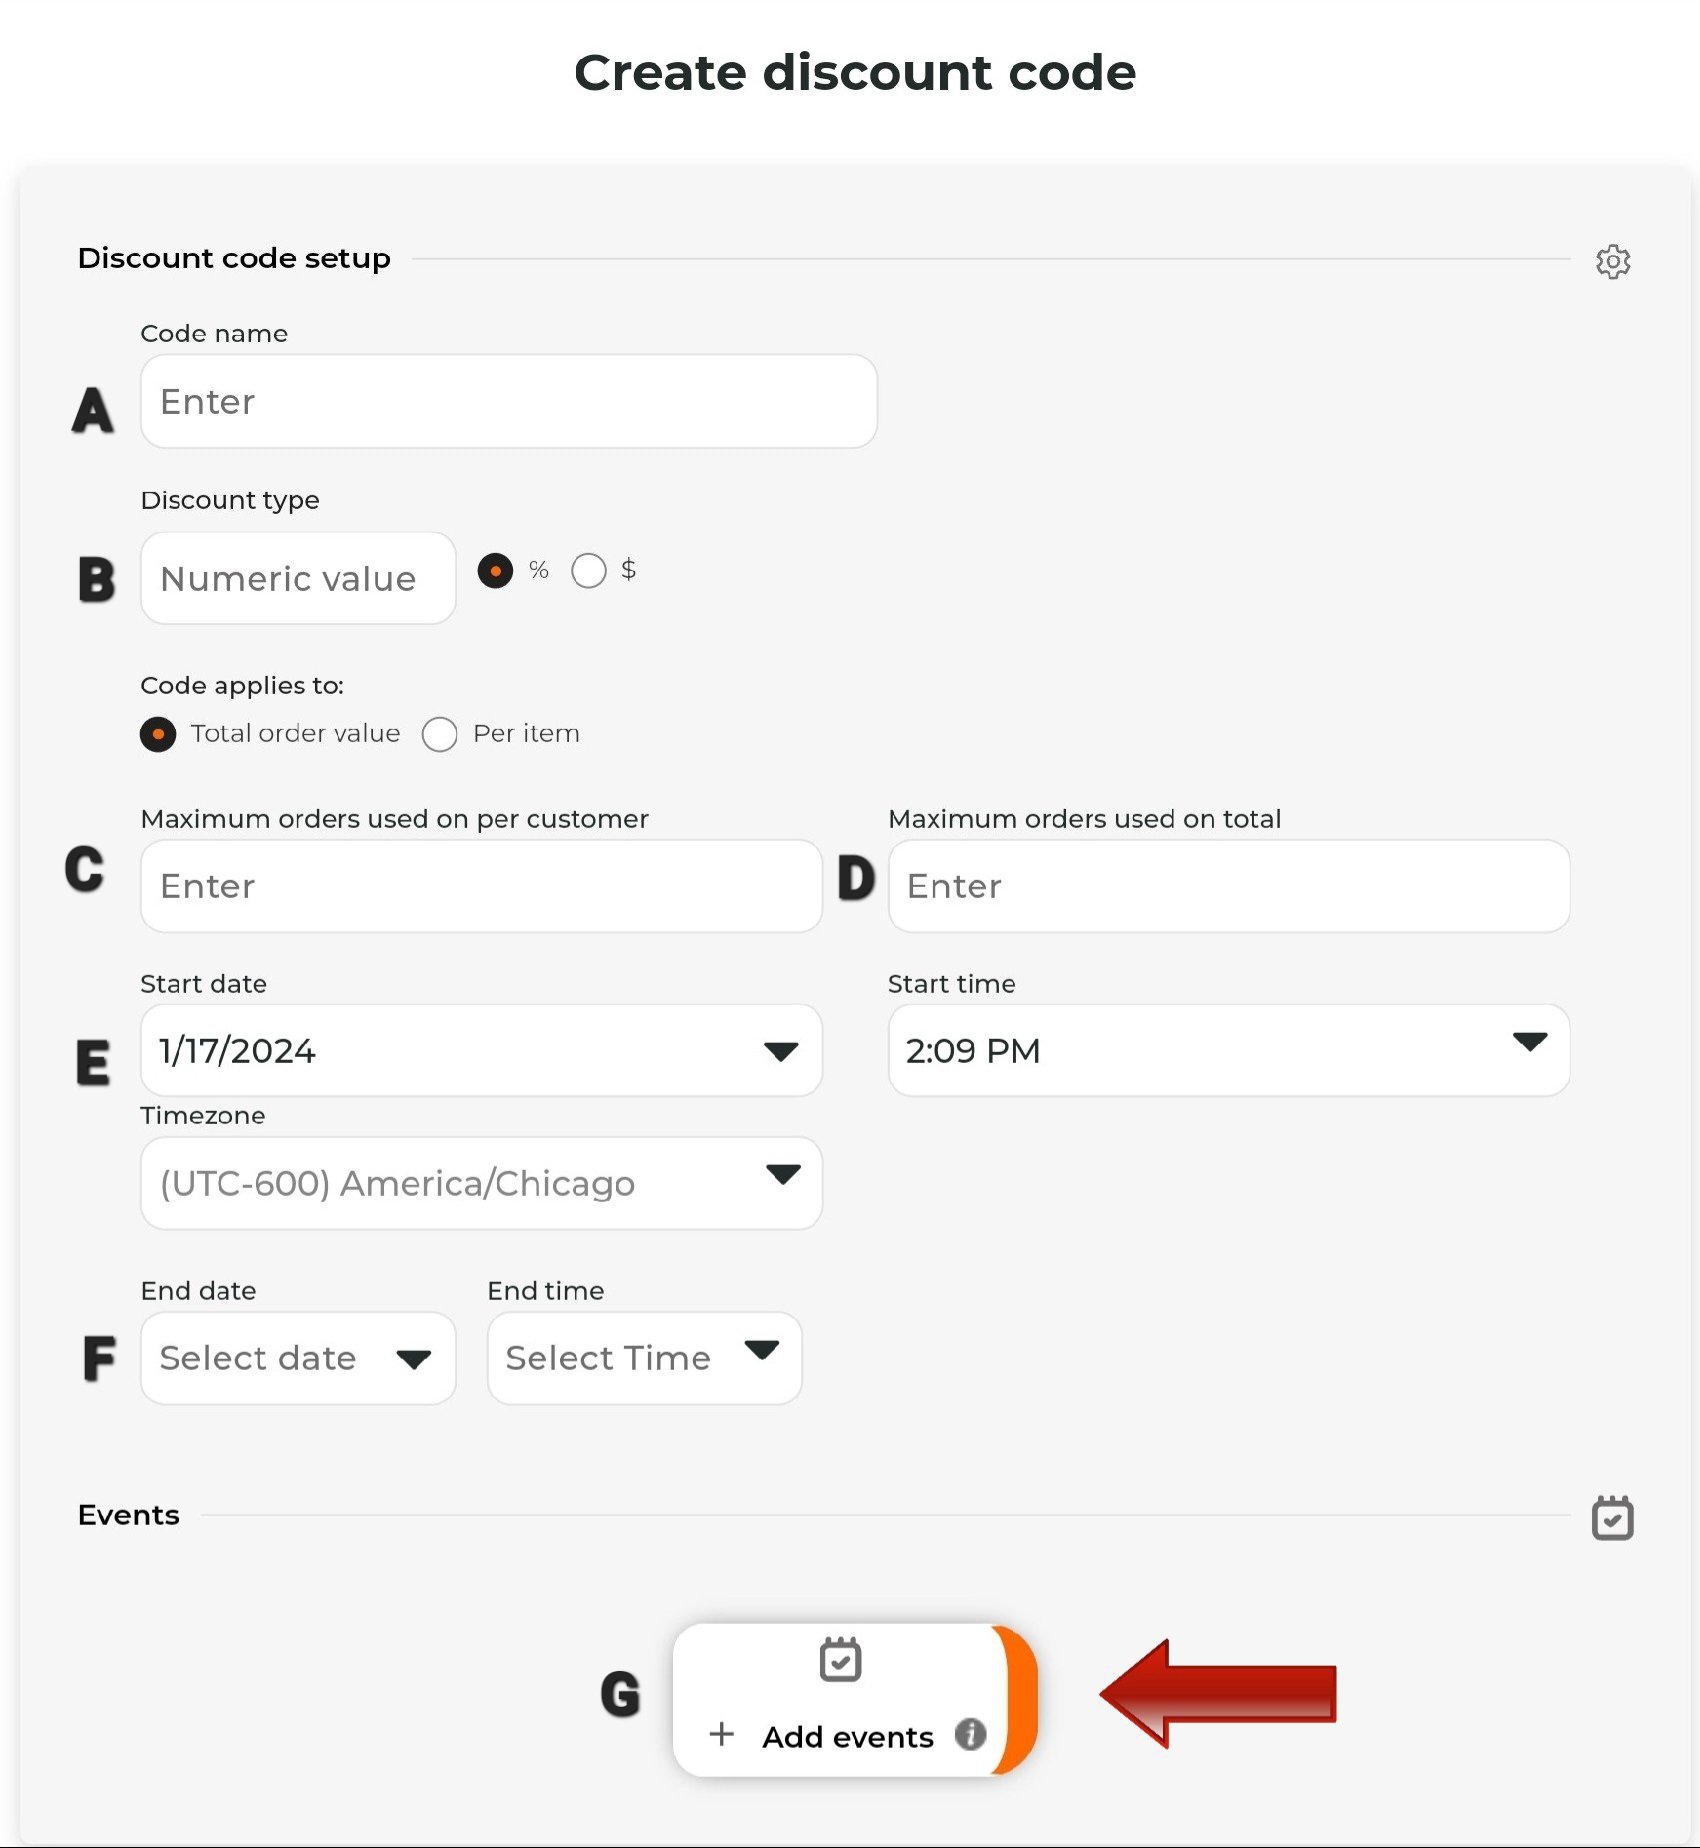
  • A 👉 The code text is what attendees will enter in order to get their discount. Note that when a discount code is being redeemed, it is not case sensitive.
  • B 👉 Enter the discount amount to be applied. You can enter a percentage or a fixed dollar amount.
  • 👉 Here you can set the maximum number of times each unique ticket buyer can use this discount code. Leave this field blank if you do not want to set a limit.
  • 👉 Here you can set the maximum number of times that this discount code can be redeemed in total. Leave this field blank if you do not want to set a limit.
  • E 👉 Your discount code will be made active on this date & time.
  • 👉 You discount code will be made inactive on this date & time.
  • G👉 Click "+Add events" to choose which event(s) your new code will apply to.

    Choose which ticket types your discount code will apply to. You may select individual tickets or choose to to apply to all.

Screenshot_20240117_141304_Chrome
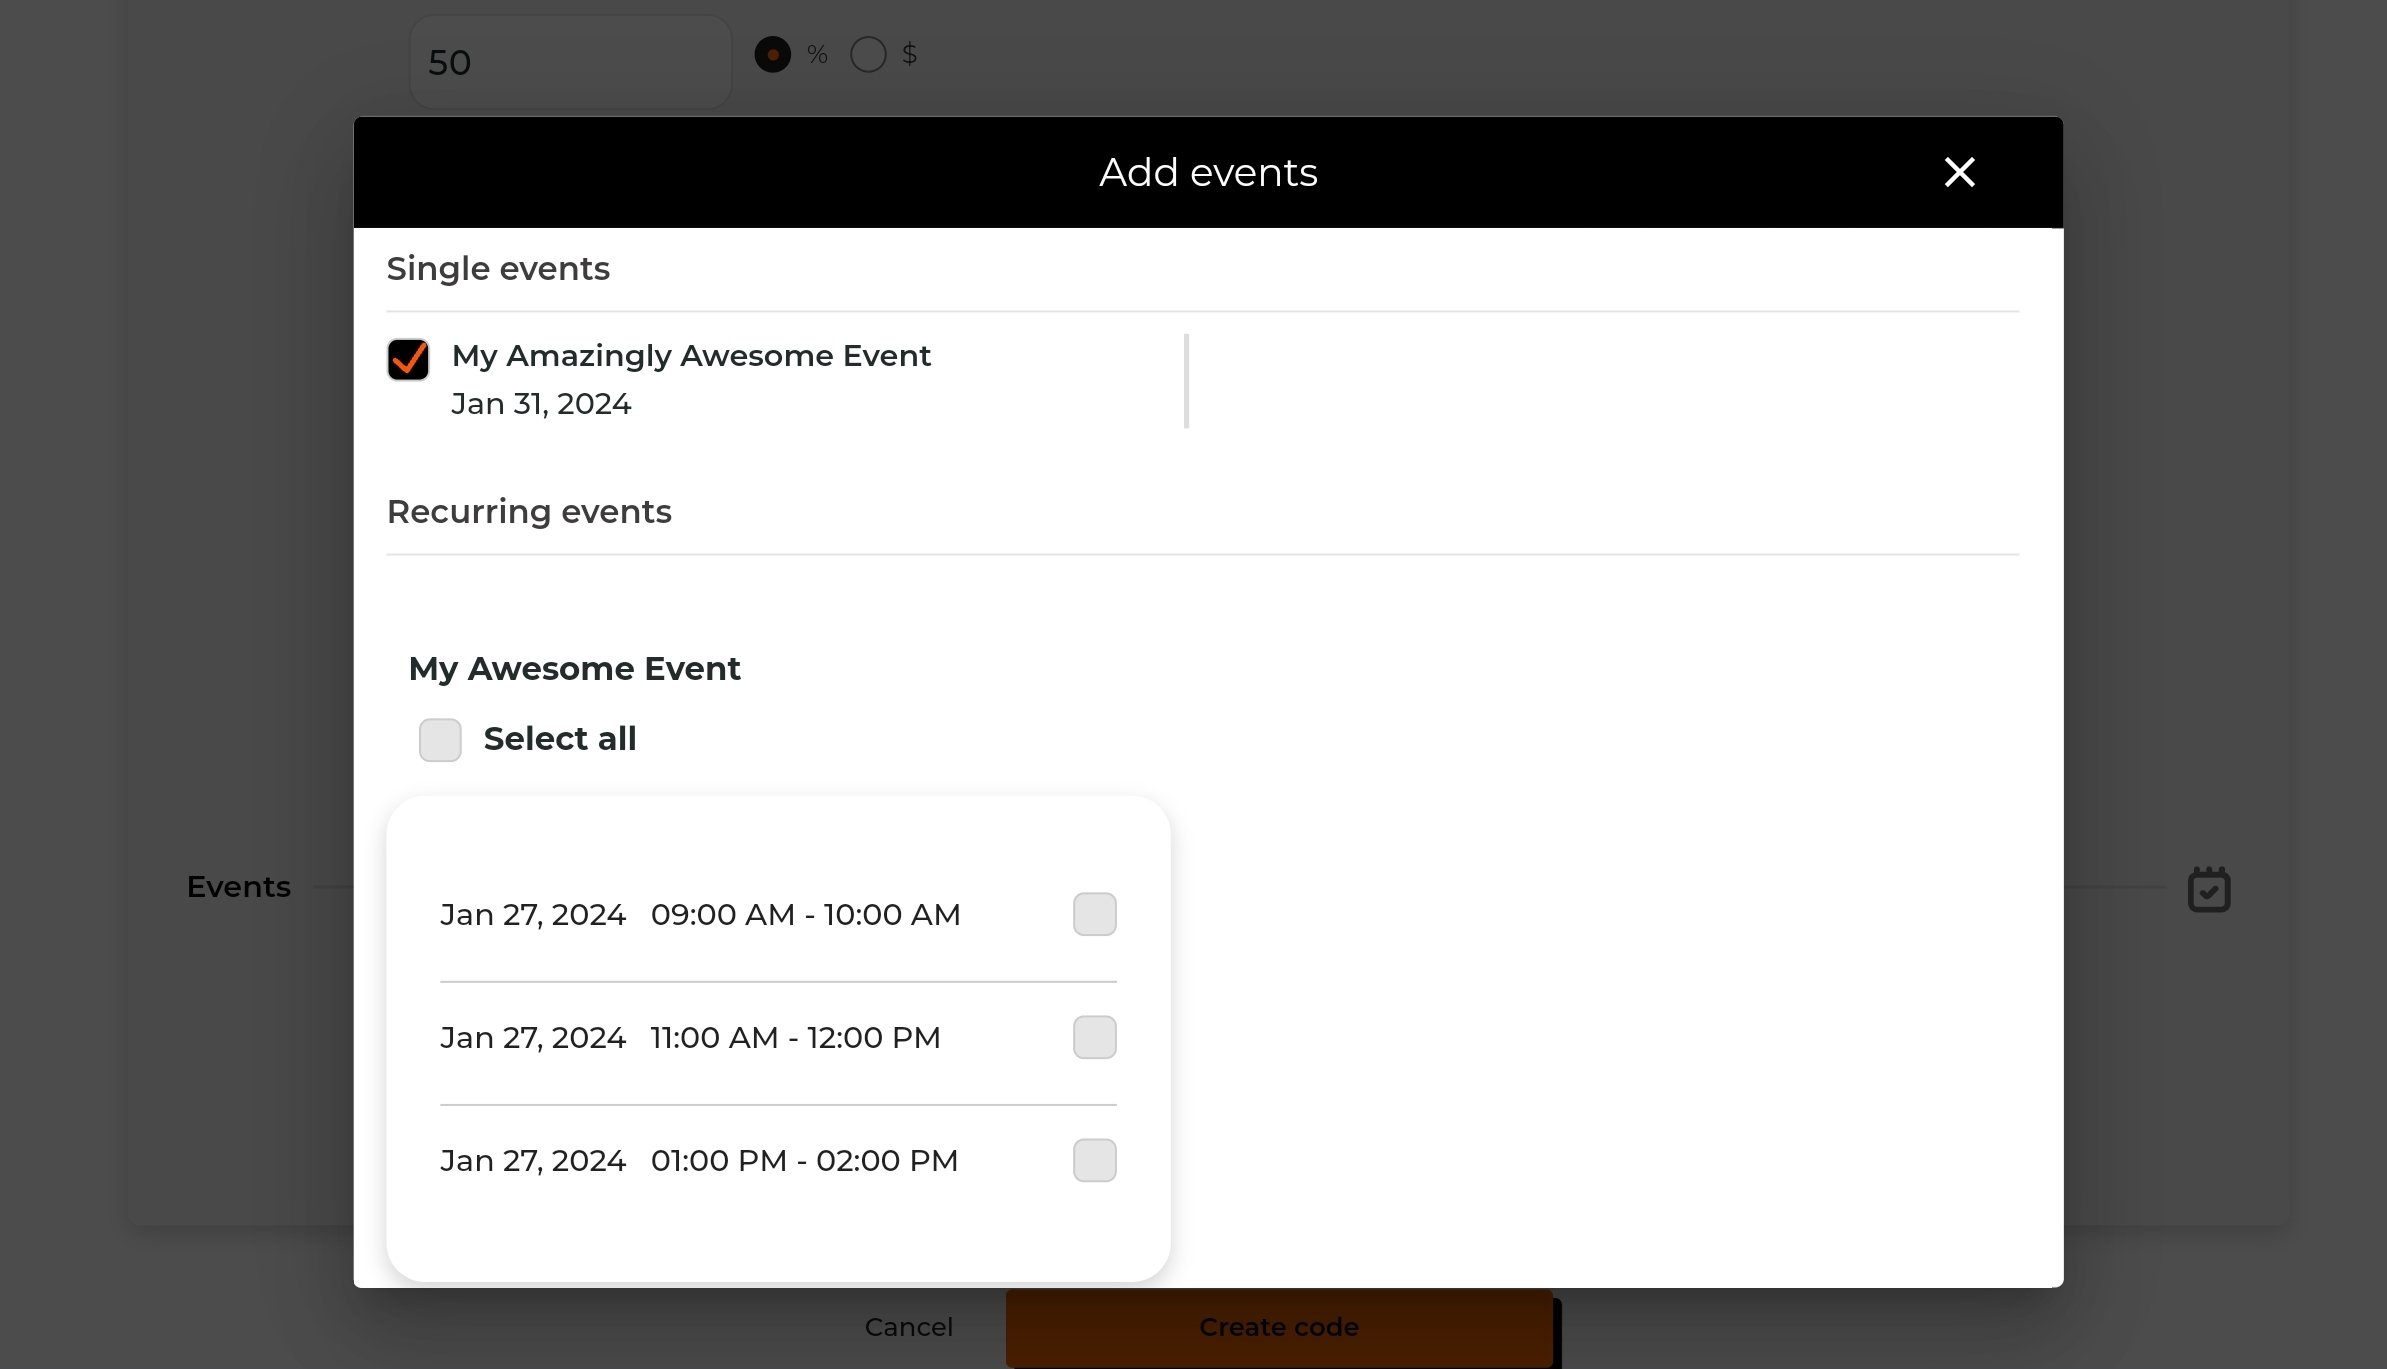
Choose which ticket types you want your discount code to apply to. You can choose individual ticket types or select all.

Choose tickets
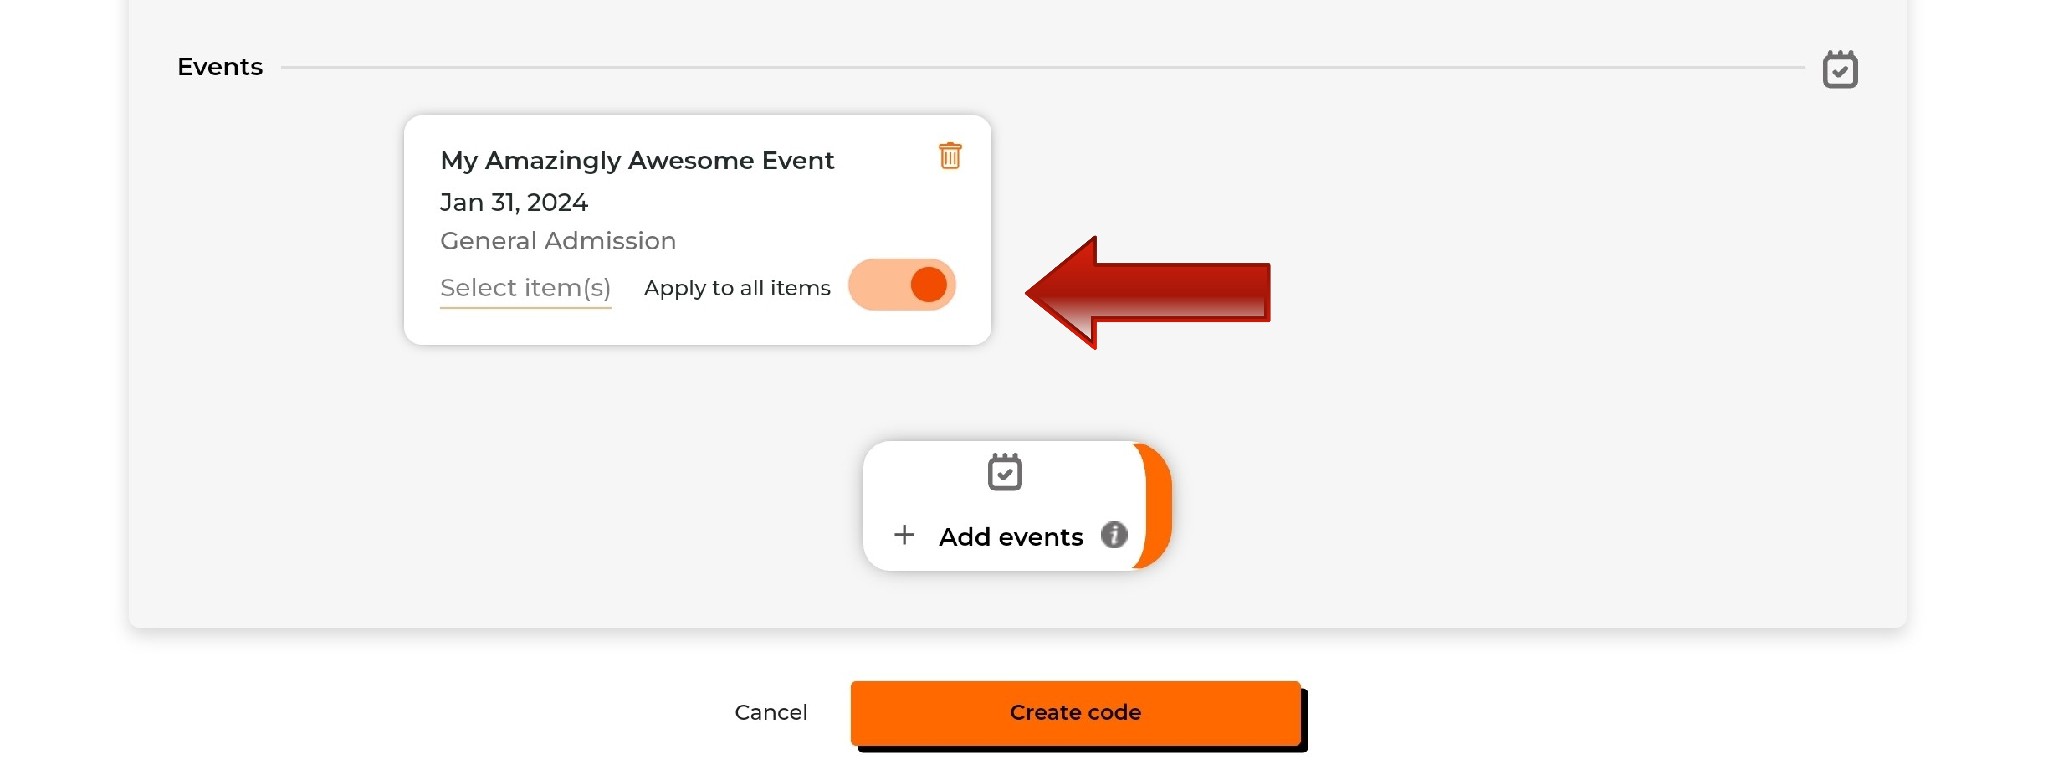
Once you're done, click Create code.


Still Have Questions?

Contact Us

Jeremy Geist
Jeremy Geist
I'm an intern at PromoTix working on UX design and instructional writing. I like board games, baking, pinball, and trying to convince people to watch The Genius.

PromoTix is an established provider of event ticketing platforms, event marketing software, event promotion tools, and event management technology used by event organizers around the world to sell more tickets and grow their audiences.

Related Posts

How to connect your Authorize.net account to PromoTix

(Last Updated 3/4/26) Currently PromoTix supports Stripe, PayPal, and Authorize.net for credit card processing. In order to sell paid tickets on PromoTix, you will need to connect at least one payment processor to your events. All revenue from ticket sales will be deposited directly into your chosen payment processing account. For the latest information on Authorize.net's platform, payout schedules, and associated fees, please visit their website here. NOTE: a PromoTix enterprise package is required in order to use Authorize.net with PromoTix. NOTE: the following currencies are supported by both Authorize.net and PromoTix: USD, CAD, AUD, EUR, GBP, NZD, DKK, NOK, ZAR, and SEK. NOTE: currently no credit card terminal is supported by both Authorize.net and PromoTix (only "card not present" transactions are currently supported).

How to connect your PayPal account to PromoTix

(Last Updated 8/11/25) PromoTix supports PayPal as an option for payment processing. In order to sell paid tickets on PromoTix, you will need to connect a supported payment processor (like PayPal) to your events. All revenue from ticket sales will be deposited directly into your PayPal account. For the latest information on PayPal's platform, payout schedules, and associated fees, please visit their website here.

  • 6 min read
  • Aug 14, 2025 4:17:30 PM

How to create custom checkout questions

(Last Updated 7/9/25) There may be times when you need to gather additional information from your ticket buyers that will allow them to enter their own personalized response. Follow this guide to start using the Custom checkout questions feature.

  • 3 min read
  • Jul 9, 2025 2:46:04 PM