(Last Updated 8/5/24)
With this feature you can create "gamified contests", notify your potential attendees as soon as your tickets go on-sale, and capture thousands of data points to amplify your marketing efforts.
1. Set up your organizer profile page
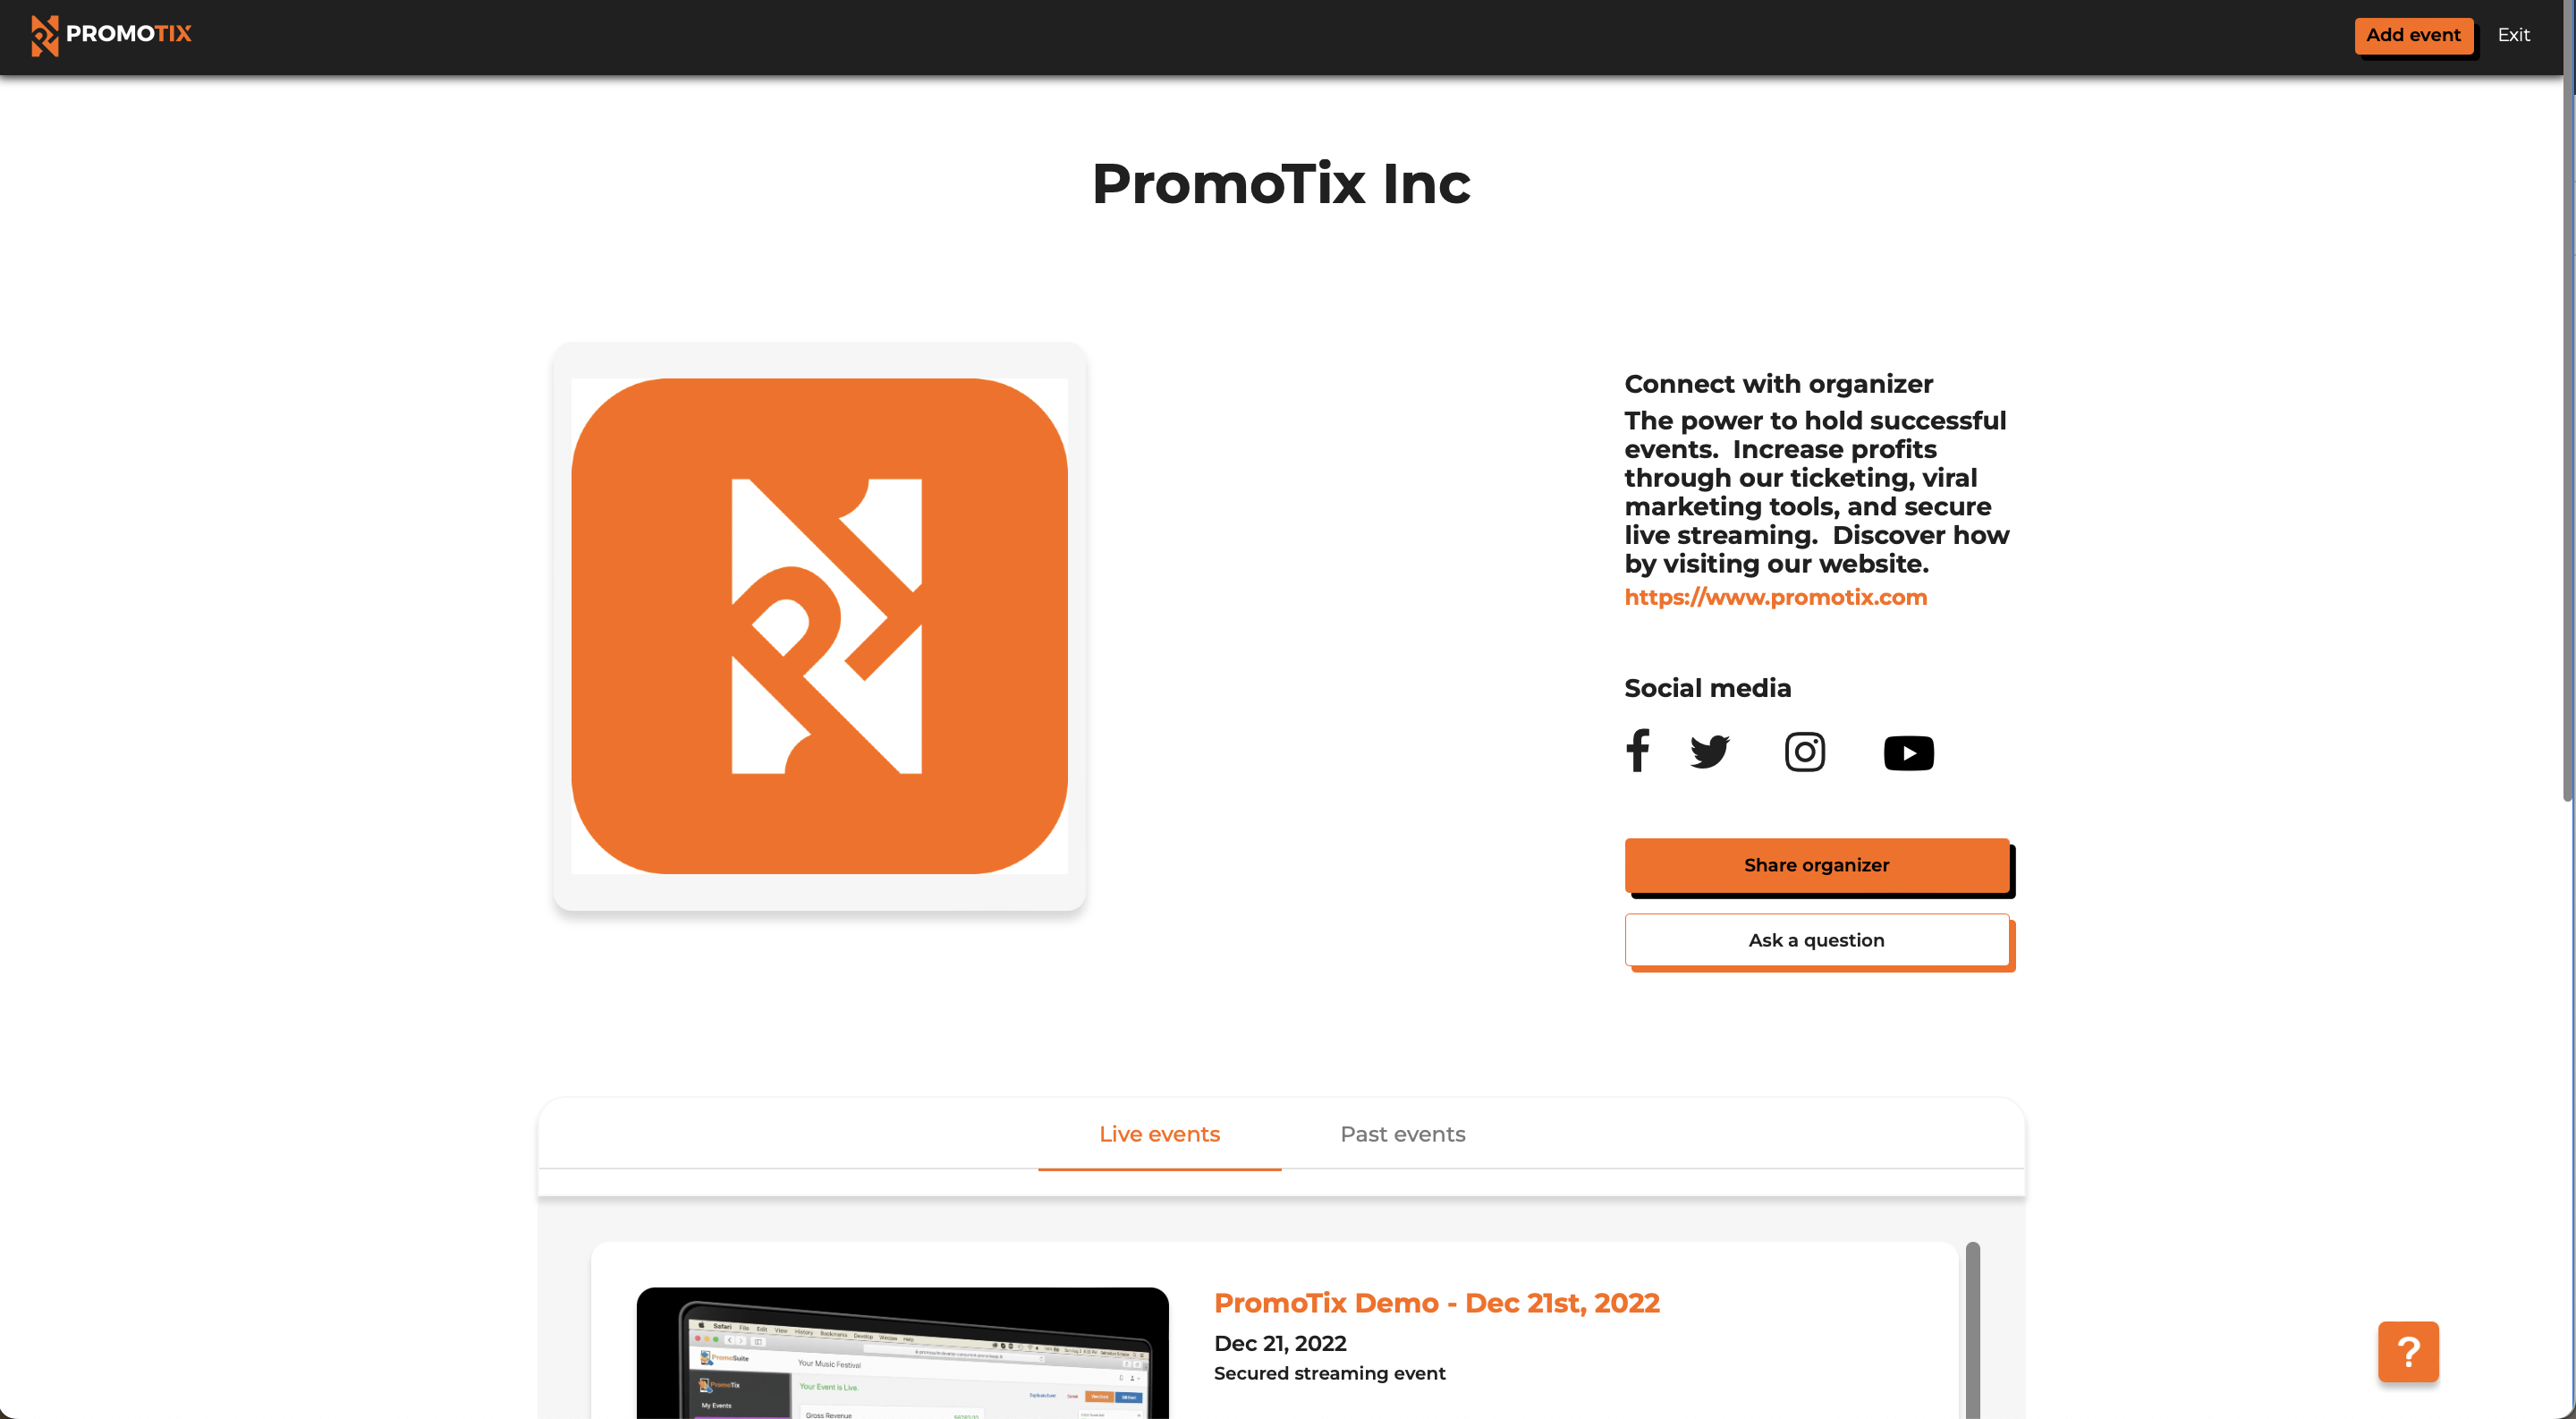
Before creating a registration contest, if you would like your contest participants "like" or "follow" your different social media pages in order to earn points, you will first need to set up your organizer profile page and enter in all of your social media links.
Click here for instructions on how to set up your organizer profile page.
Once you're done, move onto Step 2.
2. Click on your registration contests tab
 Login to your PromoTix account using a web browser, and then tap on the Registration contests tab in the drawer on the left side of the screen.
3. Create a new registration contest
 Click on the New registration contest button to being creating your contest.
4. Select your contest type
 Here you will choose which type of registration contest you would like to create:
- Pre-sale viral registration contest 👉 select this option if your tickets are going on-sale in the future. Once the contest is over, all contest participants will receive an automated email blast letting them know that tickets have gone on-sale.
- Viral registration contest 👉 select this option if your tickets are already on-sale
5. Select one of your events and fill out additional settings

.png?width=632&height=227&name=Designer%20(1).png)
- A 👉 select one of your events that you would like to create the contest for
- B 👉 select the date that you would like your contest to end (your contest will start running as soon as it's published)
- C 👉 select the time that you would like your contest to end.
- D 👉 (pre-sale viral registration contests only): enter the date when your tickets are going on-sale. Once the contest is over, all contest participants will receive an automated email blast letting them know that tickets have gone on-sale.
- E 👉 (pre-sale viral registration contests only): enter the time when your tickets are going on-sale. Once the contest is over, all contest participants will receive an automated email blast letting them know that tickets have gone on-sale
Once you're done, click on the Save & continue button.
6. Customize your registration contest page
.png?width=680&height=302&name=Screenshot%20(22).png) Customize your registration contest page by clicking on the pencil icons scattered throughout the screen. You can also change the color of the header bar by clicking on the paintbrush icon in the top left corner.
Customize your registration contest page by clicking on the pencil icons scattered throughout the screen. You can also change the color of the header bar by clicking on the paintbrush icon in the top left corner.
Once you're ready to publish your contest, click on the Publish live button in the top right.
7. Share your new contest with the world
 To share your new contest, click on your contest on the Registration contests tab.
 Afterwards, click on the Share page button. You can copy the link to the public contest page, or share the page directly to social media.