(Last Updated 6/1/24)
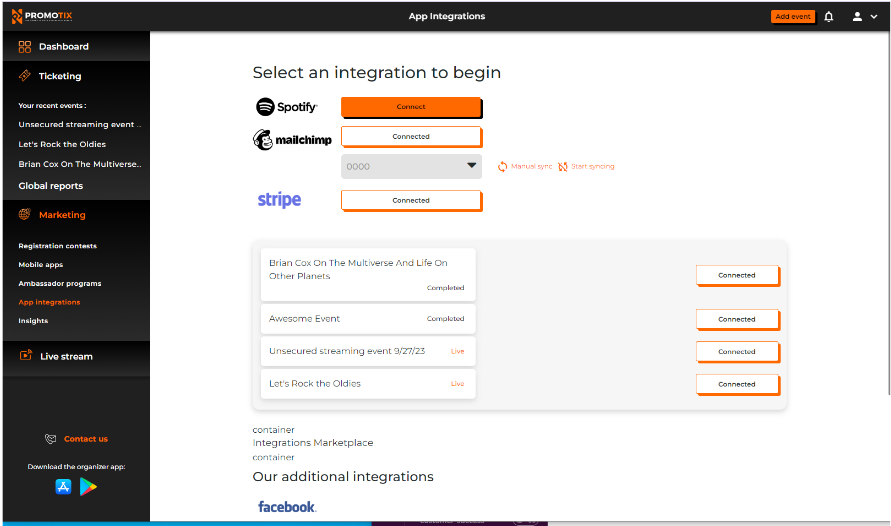
While you can always manually export a report of your attendees' email addresses via a .CSV file, you can also integrate your Mailchimp account to automatically send new customer data over to Mailchimp . Here are the steps to set up this integration:
1. Log in to your PromoTix account
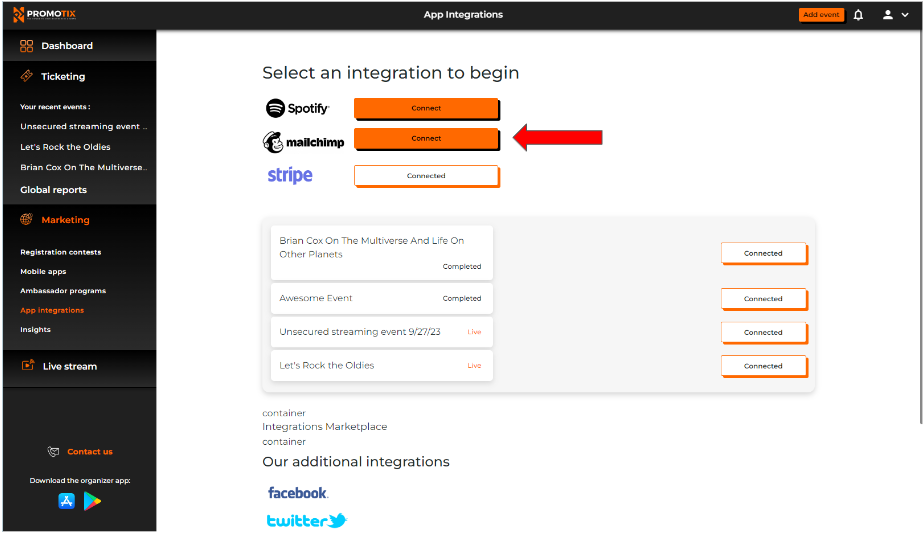
2. Click on "App integrations"
3. Click on the "Connect" button
4. Enter in your Mailchimp username and password
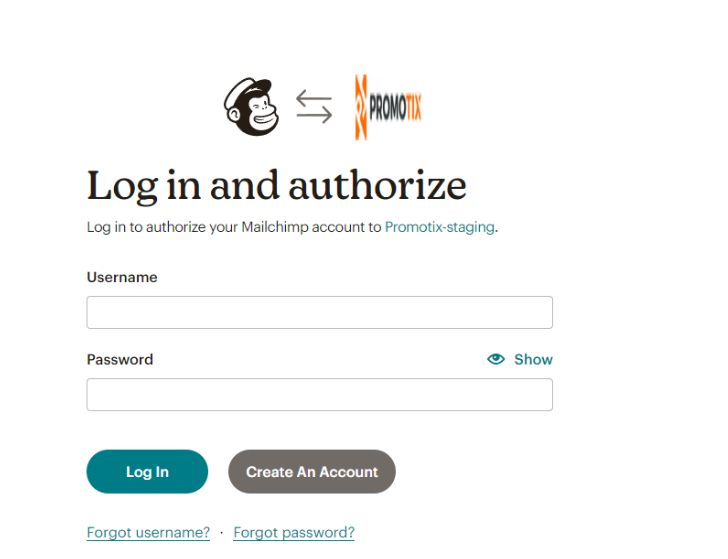
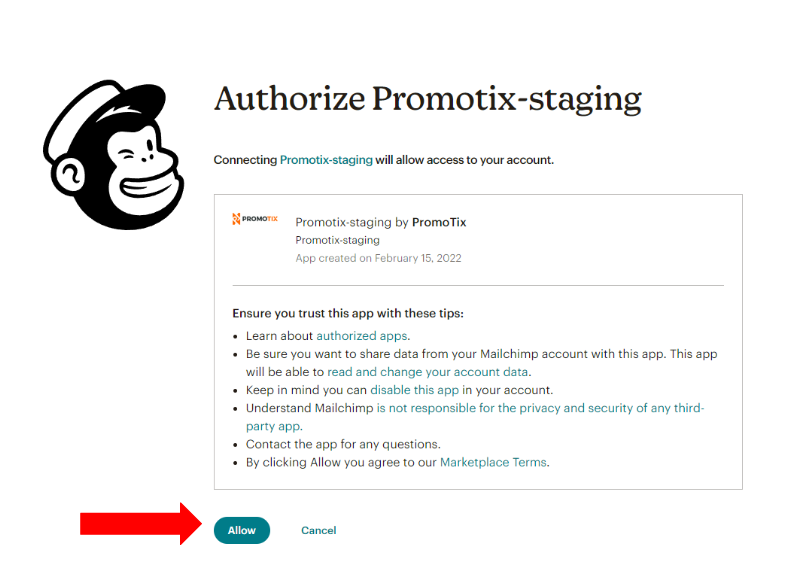
5. Click "Allow" to authorize the integration
6. Once connected, select the Mailchimp audience that you would prefer to use for PromoTix

7. Click on "Begin Import"

8. That's it!
- Once your audience is connected, PromoTix will automatically syncs new contacts from PromoTix over to Mailchimp once every 24 hours
- Clicking the "Manual sync" button will sync any new contacts from PromoTix over to your Mailchimp account immediately
- Clicking the "Stop syncing" button will turn off the automatic sync process (which happens once every 24 hours)